Life has a funny way of reminding you not to plan too hard, and one such reminder was exactly how my 10-day trip through the scenic Southwest began. I hadn’t even gotten off the plane in Phoenix when I received an e-mail from the airlines notifying me that my baggage was still back in JFK. Remembering that I had an upcoming photo shoot in Nevada two days & 300 miles away, and realizing that the wardrobe for the shoot was all in my luggage, didn't help ease the sense of panic creeping in. I paid a visit to the customer service center at the airport, where they gave me a complimentary toothbrush for the evening, located my baggage, and arranged for it to be sent over the next morning. Thankfully the rest of my 10-day trip through the Southwest went a lot more smoothly, and more than made up for the turbulent start.

Desert Botanical Garden in Phoenix
After my luggage arrived in Phoenix the following day, we embarked on the first leg of our journey. We visited the Desert Botanical Garden in Phoenix, and then headed straight for Las Vegas, where we spent the next few days. I’ve been to Las Vegas a number of times, so the allure of staying on the Strip is not what it used to be. These days I prefer a place that’s a little more ‘off-the-beaten-path’, somewhere that offers more than just the constant cycle of the usual Las Vegas vices. The beautiful resort at the Red Rock Casino & Spa was exactly what I was looking for. Based right outside of the scenic Red Rock Canyon, the views are incredible, and the vibe is exciting but also relaxing.

Red Rock Resort pool
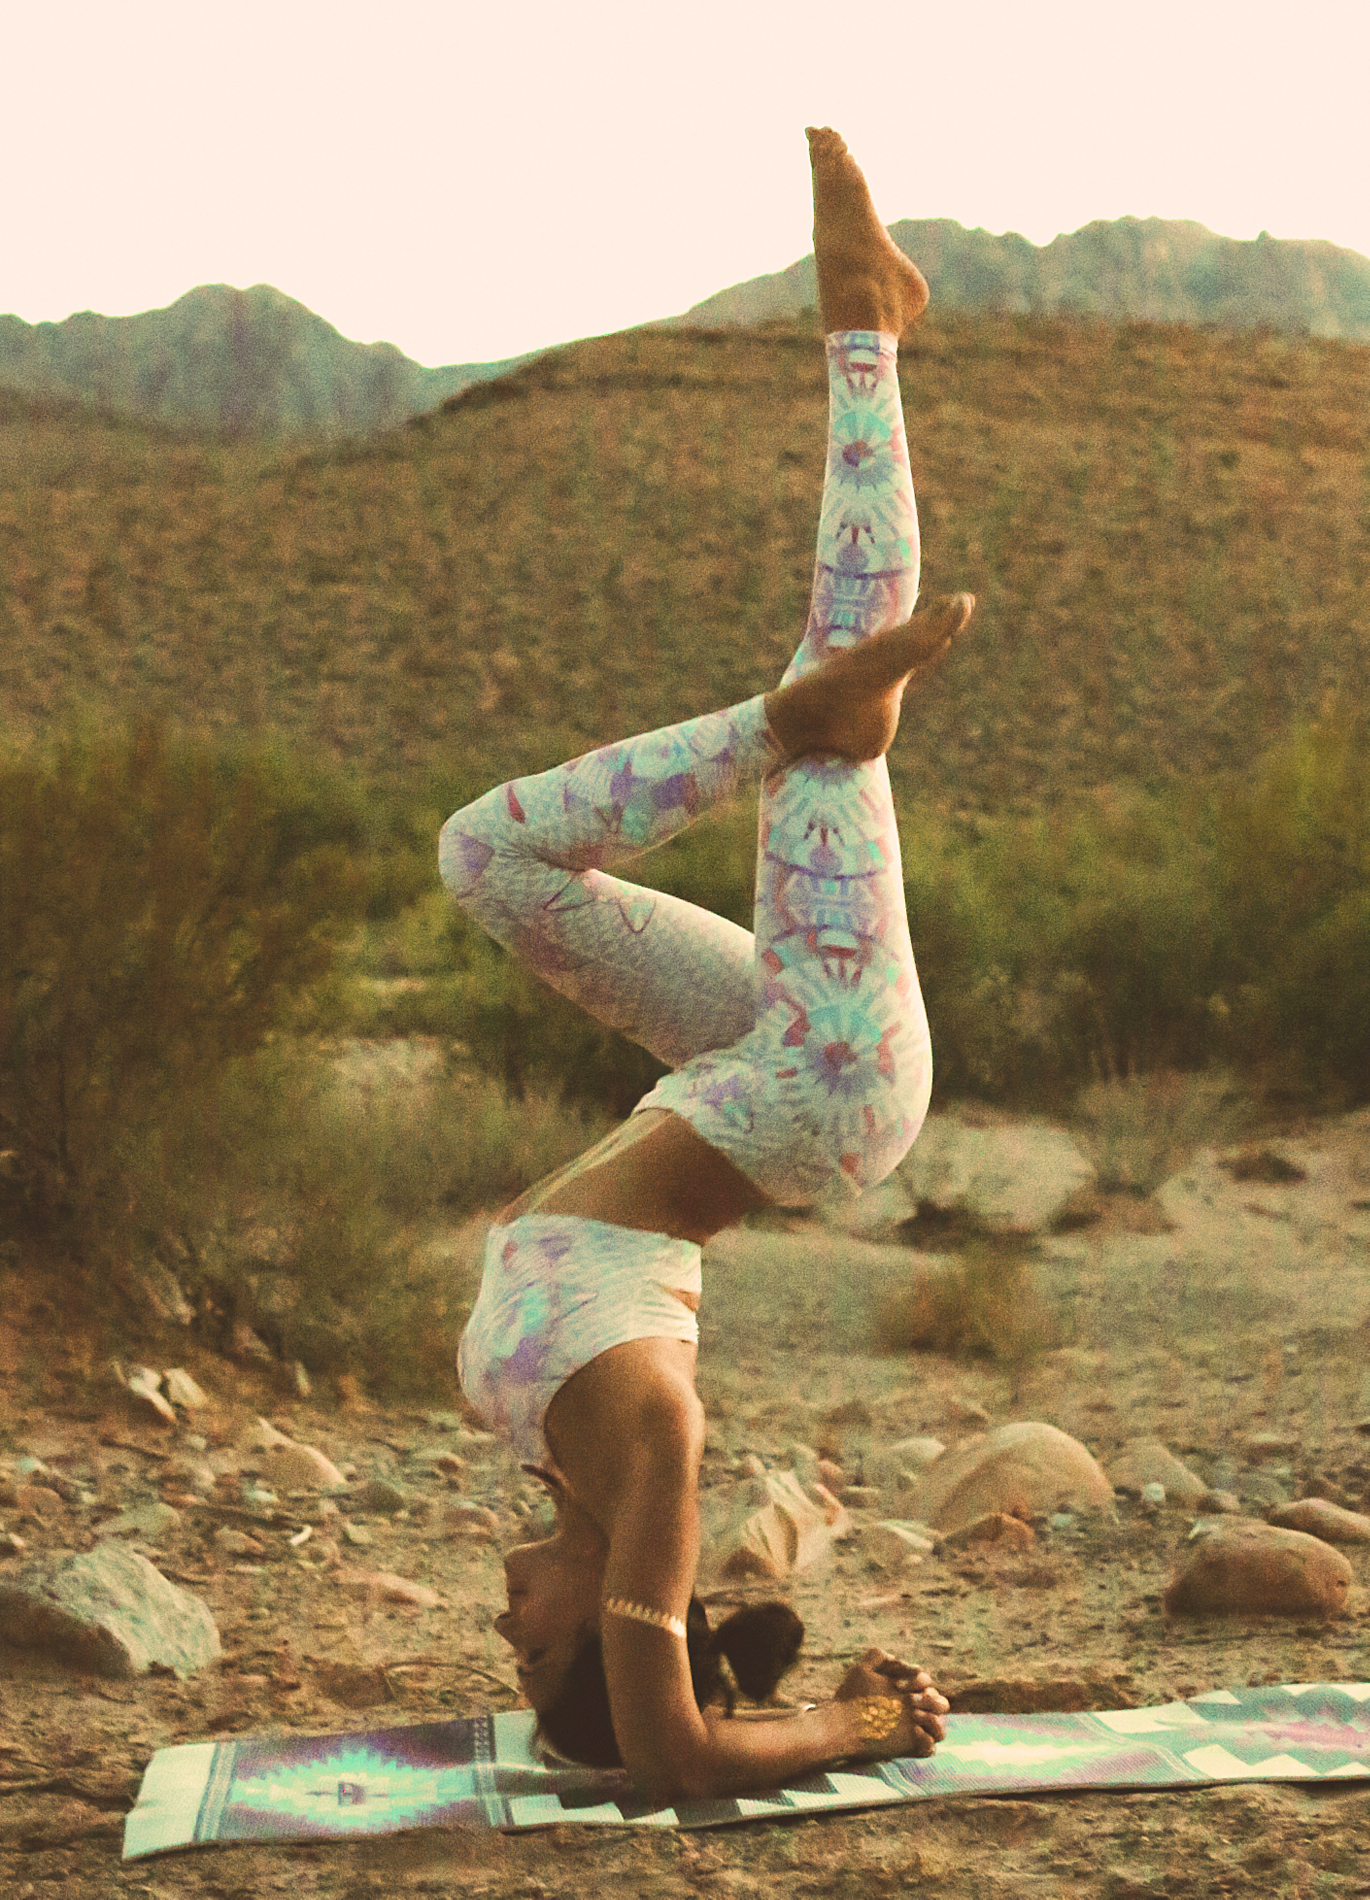
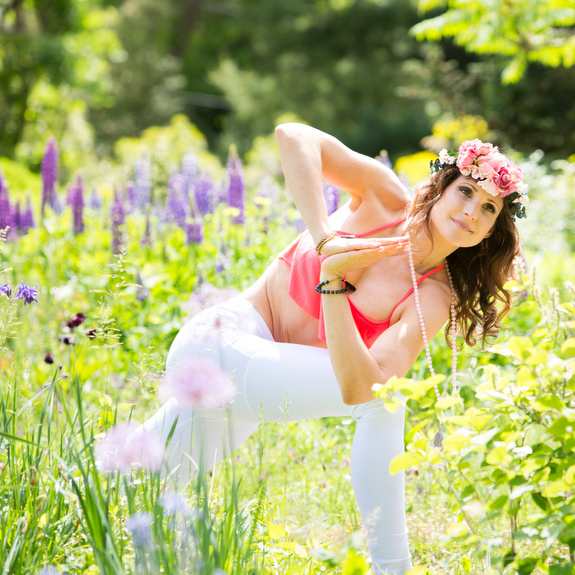
Wearing Mara Hoffman, photo by Jessica Passecker
My photo shoot with the wonderful Jessica Passecker on the following day was another highlight of the trip. Jessica and I discovered we had quite a bit in common (from matching handbags to the same hometown), and we spent the afternoon hiking and shooting among the scenic Red Rock Canyons. We ended up chatting so much that our shoot lasted until well after the sun had disappeared behind the canyons.
After a few incredible days in Nevada, we left for Utah. We drove through the forest, dry lake beds, and some mountainous terrain, stopping along the way to savor the breathtaking views of Cedar Breaks National Monument, Bryce Canyon, and Glen Canyon, truly some of the most beautiful areas in the entire country. But my favorite moment in Utah was something I didn't bargain on - getting photo-bombed by a flock of sheep while taking a yoga photo in middle of the road... you just can't plan for that!
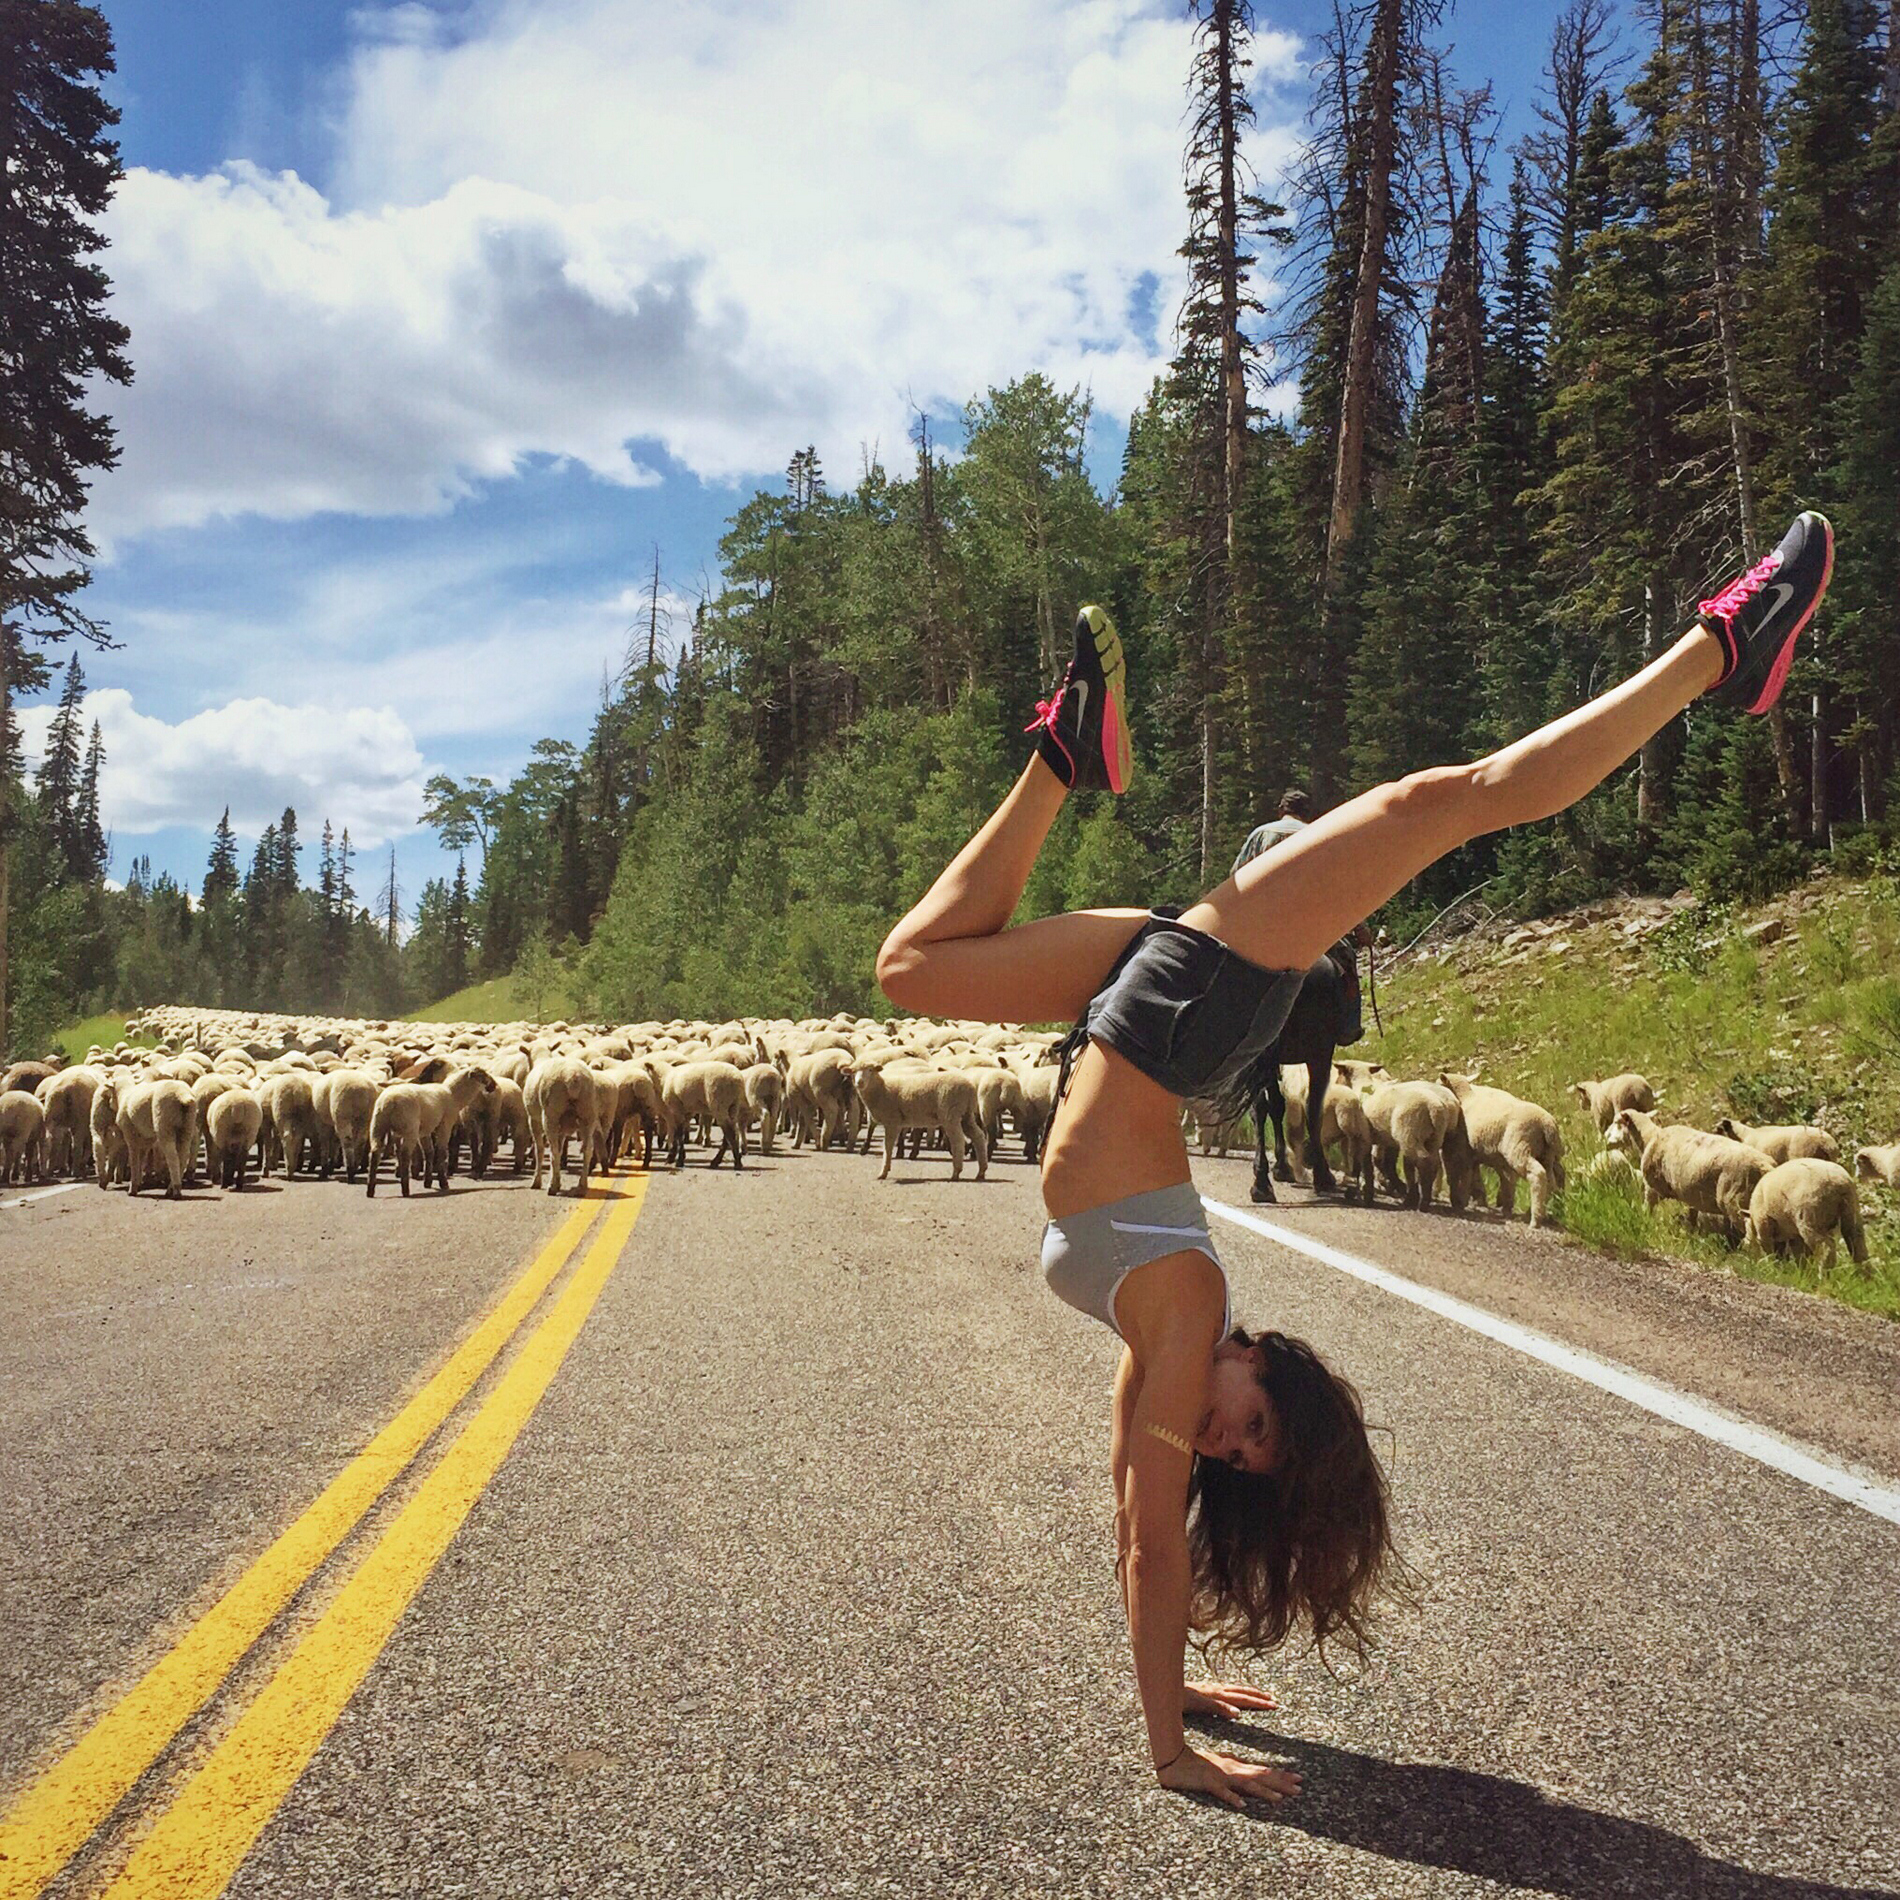
Getting photo-bombed by a flock of sheep in Utah
From there we drove on to Colorado, where we went white water rafting in Durango, and then headed into New Mexico. I’d been to Santa Fe briefly in the past, but I remember thinking that I hadn't spent nearly enough time getting to truly appreciate all of the history & the beauty of the area, so I was very happy to return for another visit.
We ended our trip in Albuquerque, where we visited the historic old town, as well as the Albuquerque Museum of Art and History. On our drive to town we took the road less traveled, where we discovered the quaintest little café, with peacocks roaming around the front, and a small farm in the back. And once again I was reminded that some of the most memorable moments are the ones you don’t plan for.

Quaint cafe on the Turquoise Trail, somewhere in between Santa Fe & Albuquerque