Ahhh December… the sparkly lights are all up, the holidays are just around the corner, and cold season is in full swing. For most of us, coming down with the common cold is a nuisance that doesn’t really cause a major disruption to our daily routine. Even so, its symptoms can certainly take a toll on our body, leaving us feeling achy, congested, and more tired than usual. The following 5 yoga poses are the perfect mini-sequence to help open your chest, clear your sinuses, and provide some much-needed relief:
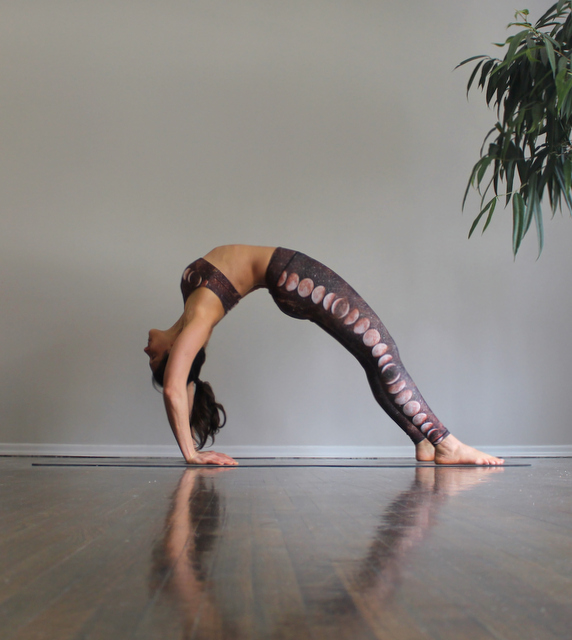
1. Supported Downward Facing Dog (using 2 blocks)
Adho Mukha Svanasana is a mild inversion that aids circulation. It opens the chest and airways, which allows the sinuses to drain. The yoga blocks used in this variation provide support to the head & neck, creating a more restorative sensation in the posture.
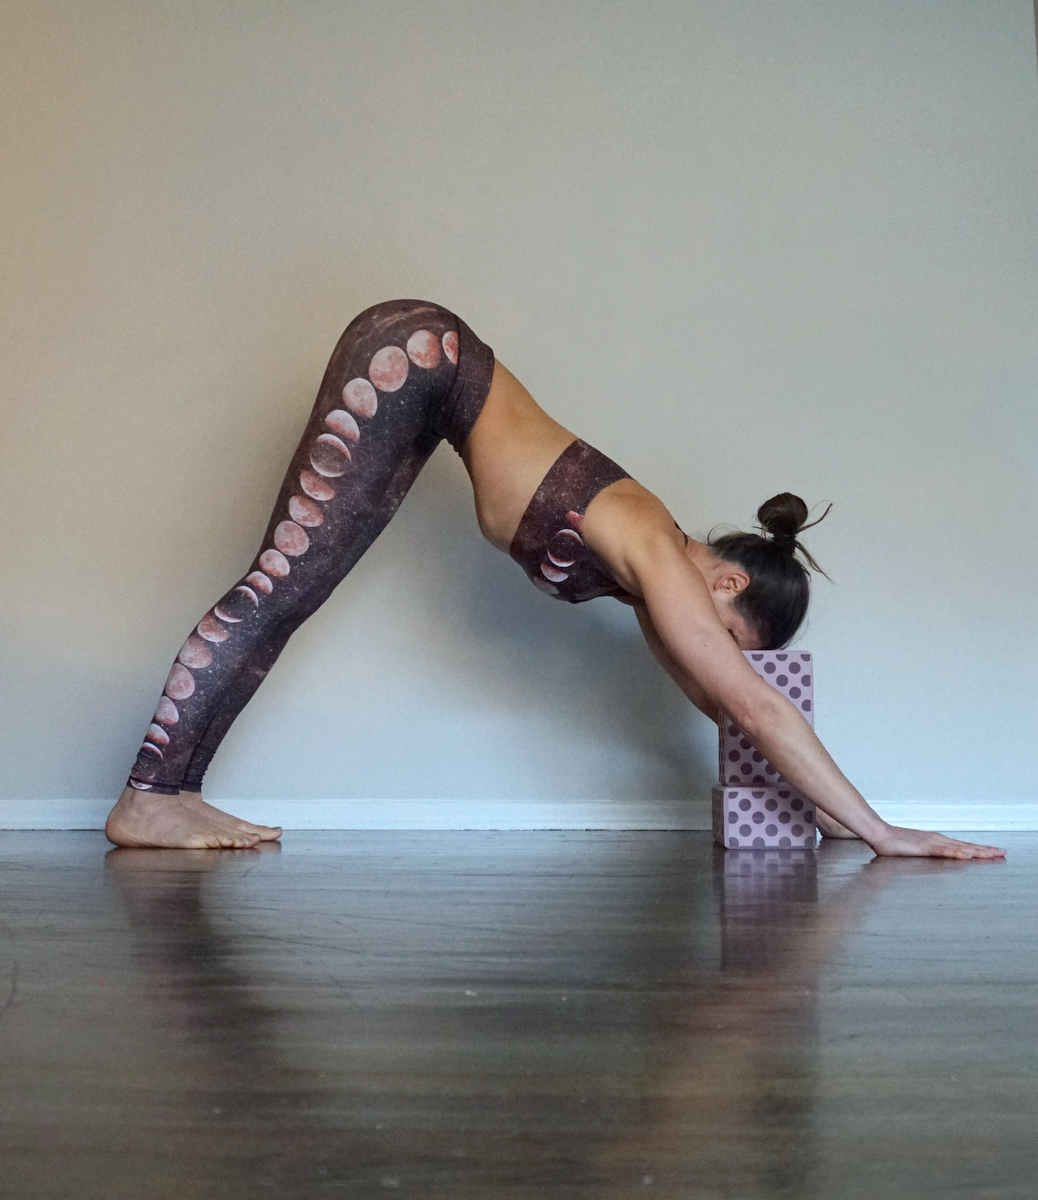
Supported Downward Facing Dog
1. Come onto all fours with your shoulders directly over your wrists and your hips over your knees. Place 2 blocks stacked directly under your belly, with the bottom block on its lowest height, and the top block set to its highest height.
2. Tuck your toes, shift your hips back, and straighten your legs, coming into Downward Facing Dog. The blocks should end up directly under your forehead. Lower your forehead down onto the top block and allow it to rest there.
3. Hold for five to ten breaths, then lower down to release.
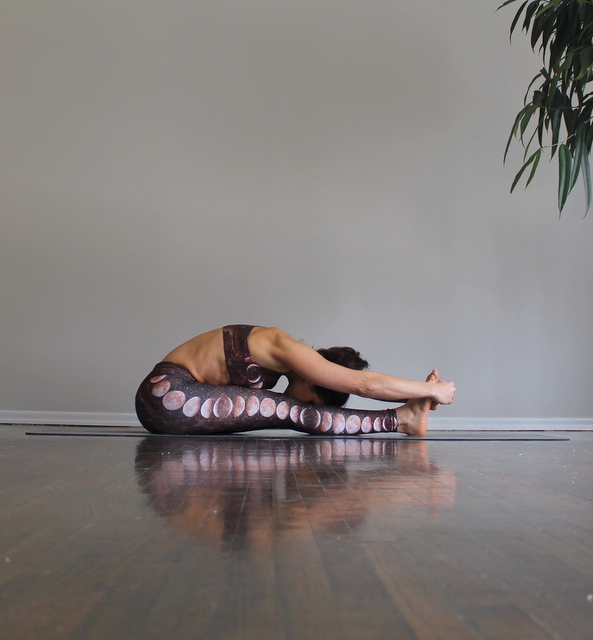
2. Supported Forward Fold (using 2 blocks)
Uttanasana reduces stress and relieves tension in the spine, neck, and back. It allows for fresh direct blood-flow to the head, helps to clear out blockages, and is considered therapeutic for sinusitis. The yoga blocks used in this variation provide support to the head & neck, creating a more restorative sensation in the posture.
1. Begin standing with your hands on your hips. Place two blocks directly in front of you, one stacked on top of the other, both at their tallest height.

Supported Forward Fold
2. Exhale and lengthen the front of your torso as you bend forward at the hips. Press your heels down toward the floor as you reach your sit bones upward. Spin the tops of your thighs slightly inward. Don't lock your knees.
3. Gently lower your forehead to rest on the top block. With each inhale lift and lengthen your torso.
4. Hold the pose for 10 breaths. To exit, bend your knees, place your hands on your hips, and return to standing.
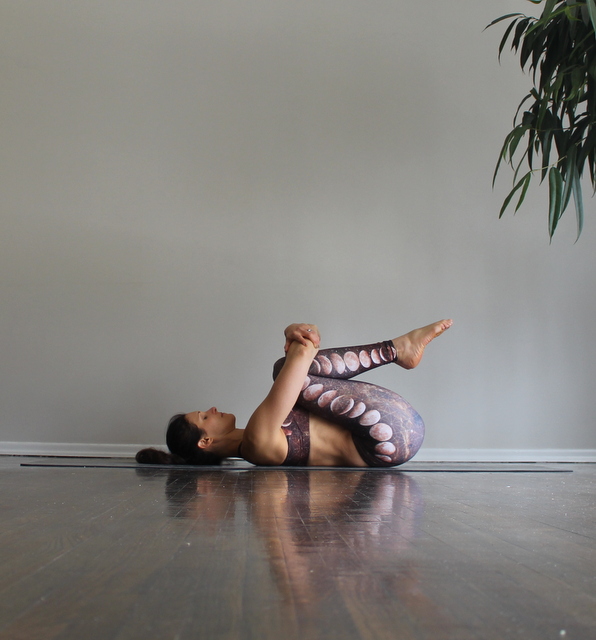
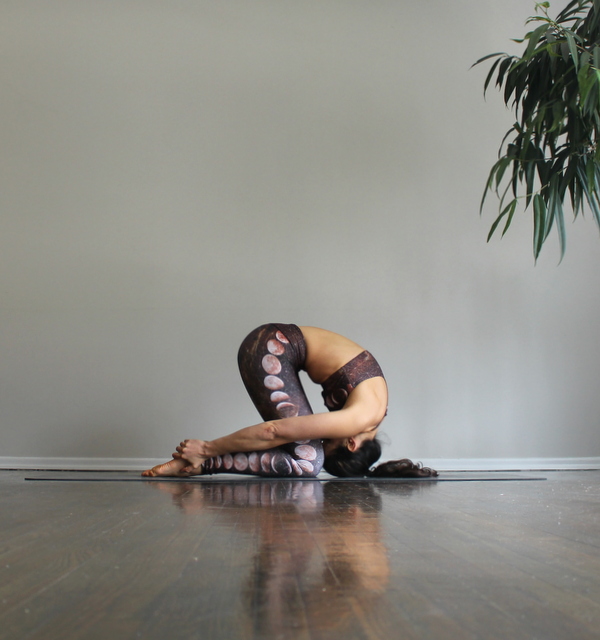
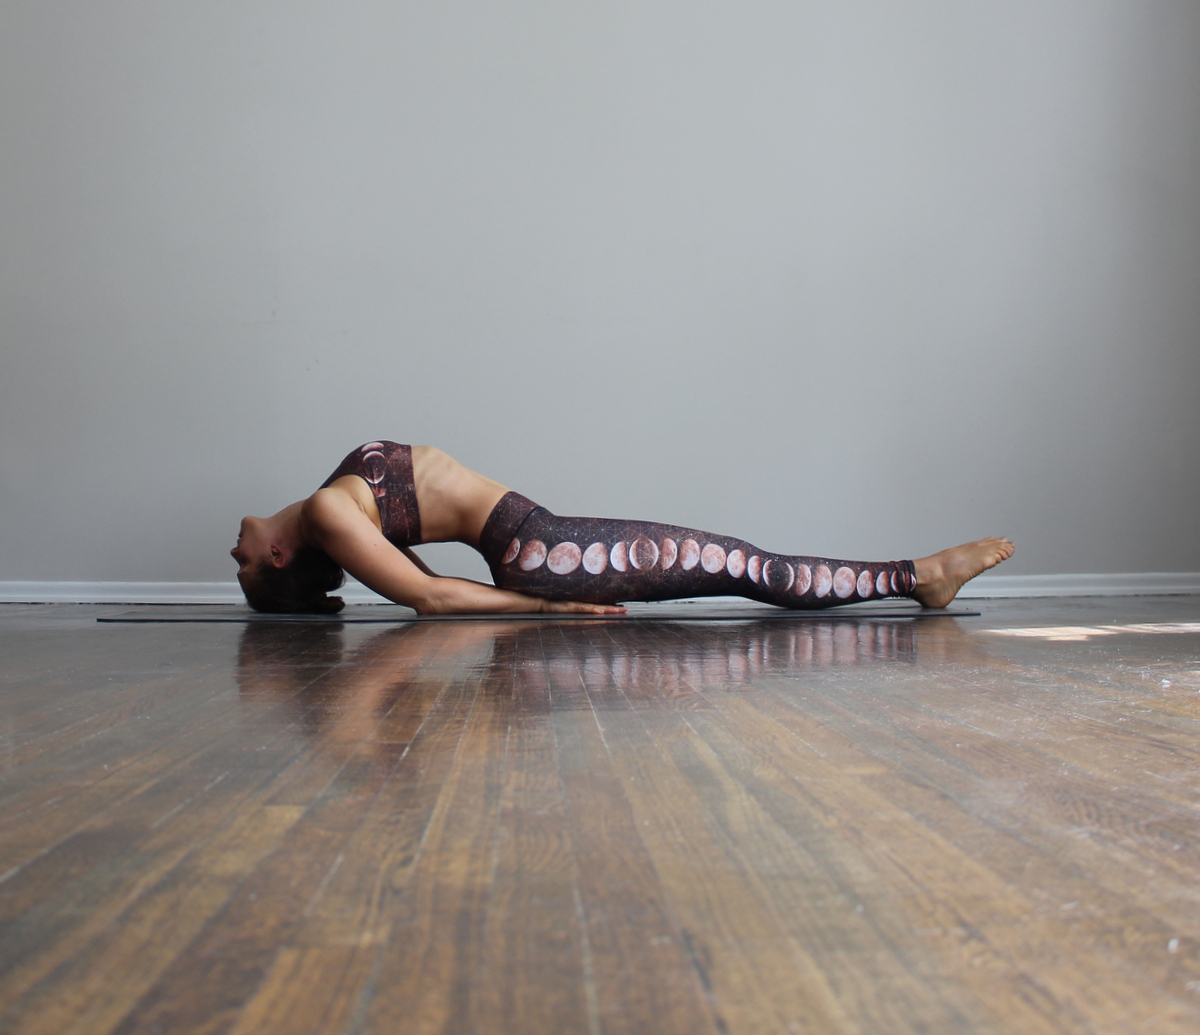
3. Plow Pose
Halasana is a calming stretch that can aid in sleep, which is often affected by a cold. It can provide relief for both sinusitis and headaches.
1. Begin lying on your back, with legs extended, arms down at your side. Palms should be flat on the ground.

Plow Pose
2. Inhale and use your core muscles to lift your legs and hips up toward the ceiling. Align your torso so that it’s perpendicular to the floor.
3. Slowly lower your legs and feet over your head and down toward the floor. There should be little or no weight on the lower neck. Keep a slight bend in the knees if you feel tension in your legs or back. If your toes don’t yet touch the floor, support your back with your hands.
4. If you can rest your toes comfortably on the floor, straighten your legs completely and move your tailbone toward the ceiling. Interlace your fingers and press your upper arms firmly into the floor.
5. Bring your hips over your shoulders. Lift your tailbone and soften your throat.
6. Hold for 5-10 breaths. To release, support your back with your hands and slowly roll down, one vertebra at a time.
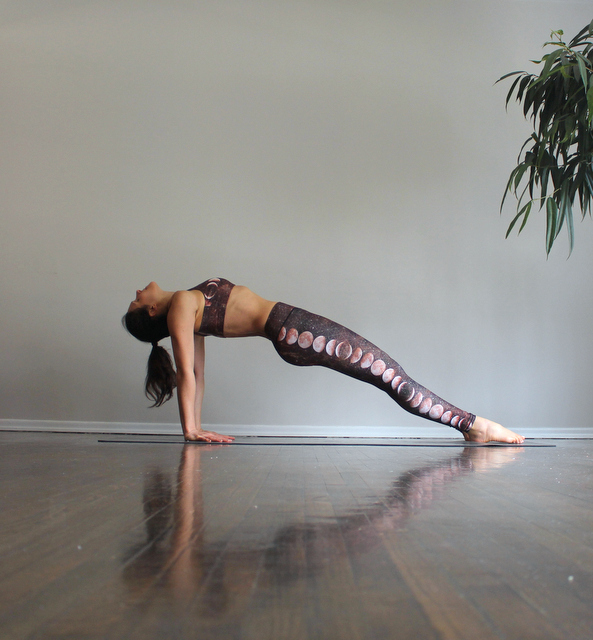
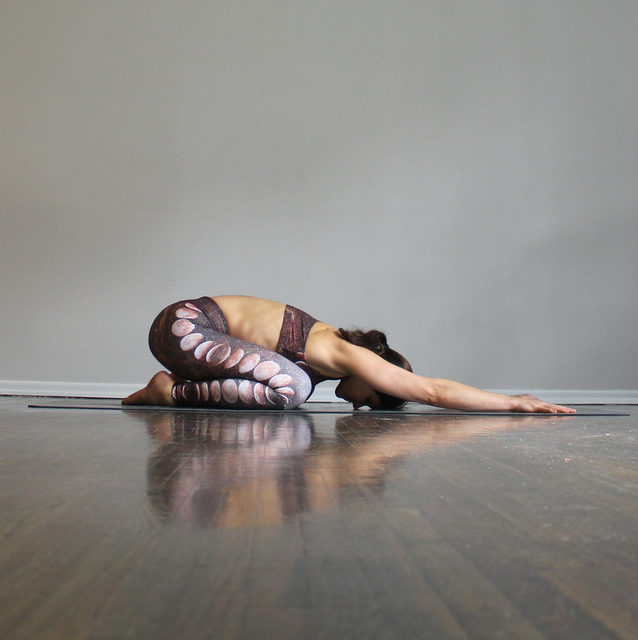
4. Fish Pose
Matsyasana is referred to in a traditional yoga text as the “destroyer of all diseases.” It stimulates the thyroid gland and opens the chest & throat, which helps improve breathing & reduce congestion.
1. Begin lying on your back, with legs extended, arms down at your side. Palms should be flat on the ground.
Fish Pose
2. Inhale and press your elbows & forearms into the ground as you raise your chest, creating an arch in your upper back. Lift your shoulder blades, upper torso, and head up from the floor. Then slowly lower just your head back down onto the floor. Either the back of your head or the crown of your head will rest on the ground (depending on how lifted your back and chest are).
3. Keep pressing through your hands and forearms. There should be minimal weight pressing into your neck.
4. The knees can be bent or straight. If they are straight, make sure to keep the muscles in your thighs engaged.
5. Hold for five breaths. To release the pose, exhale as you lower your torso and head to the floor. Draw your knees into your chest for a few breaths.
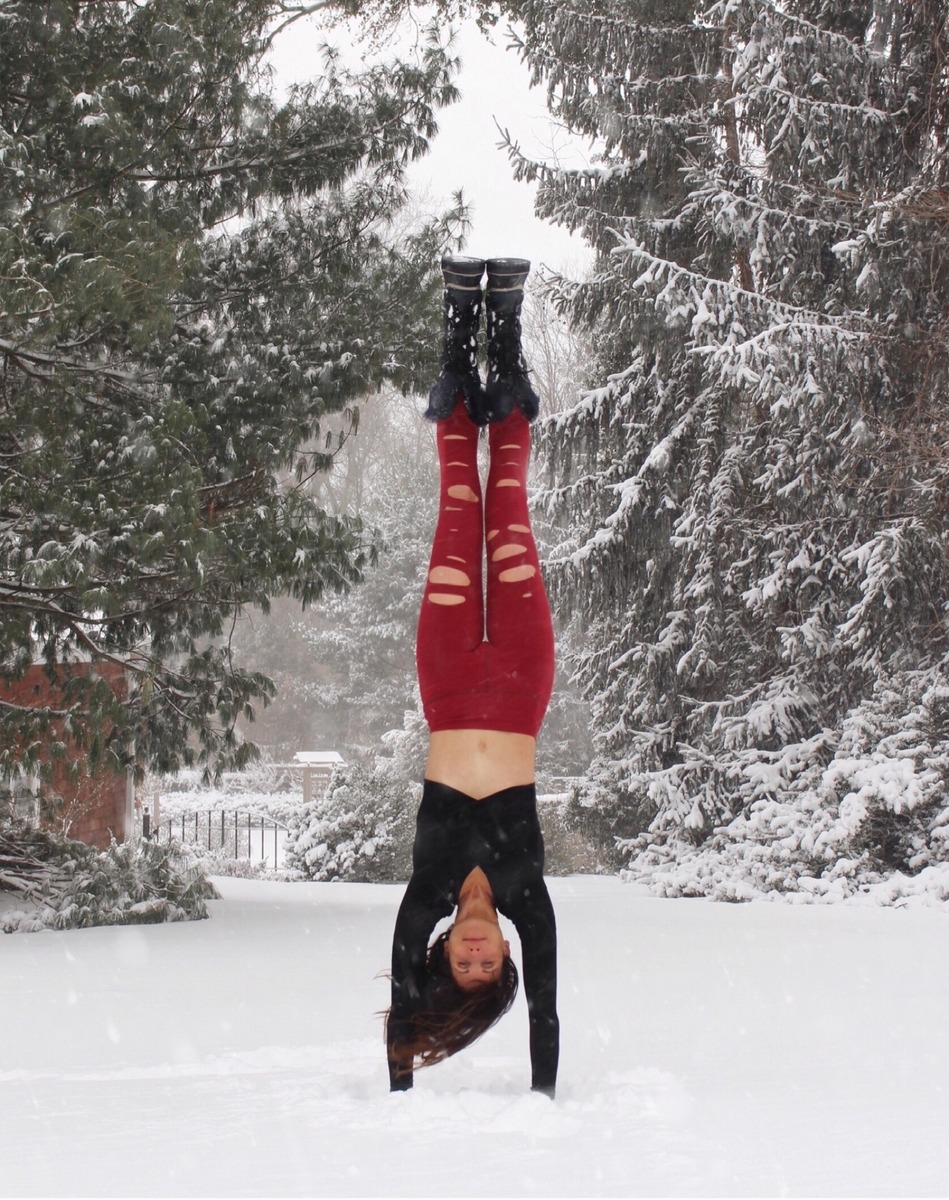
5. Headstand
Sirsasana is often referred to as to as “the king of all yoga poses”. It improves circulation, strengthens the lungs, and is said to be therapeutic for sinusitis. Headstand is an intermediate/advanced inversion, so if this posture is not a part of your regular yoga practice, perform another inversion such as ‘Legs Up the Wall’ which helps soothe the mind and body.
1. Begin on your hands & knees, then lower your forearms to the floor with your elbows directly under your shoulders (you can clasp each hand around the opposite elbow to ensure that your elbows are the right distance apart).
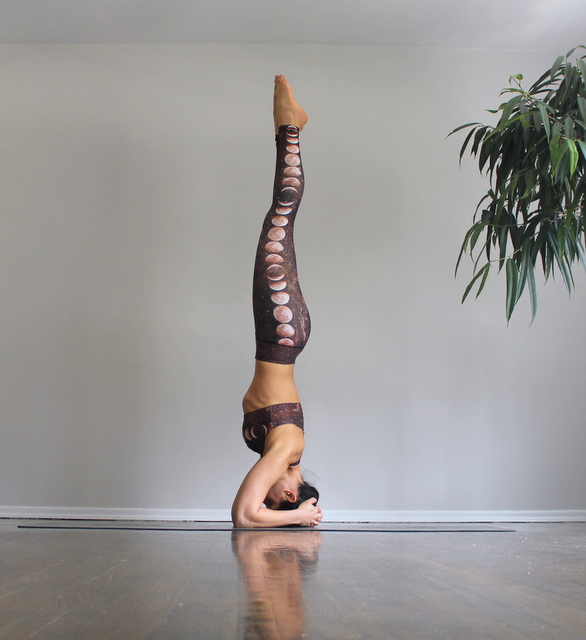
Headstand
2. Clasp your hands, interlacing your fingers, and place the crown of your head on the floor. The back of your head should rest gently at the base of your thumbs.
3. Raise your hips & straighten your legs. Slowly walk your feet in closer to your head until your hips are over your shoulders.
4. Now bend your knees, and begin to draw one knee in toward your chest. If you feel balanced here, lift that foot up from the floor. If you feel totally balanced with the first leg lifted, raise the other leg so that both feet are off the floor. You can keep the knees bent, or extend the legs straight (this will make the balance more challenging).
5. Hold for 3-5 breaths and then slowly lower one leg at a time to release.