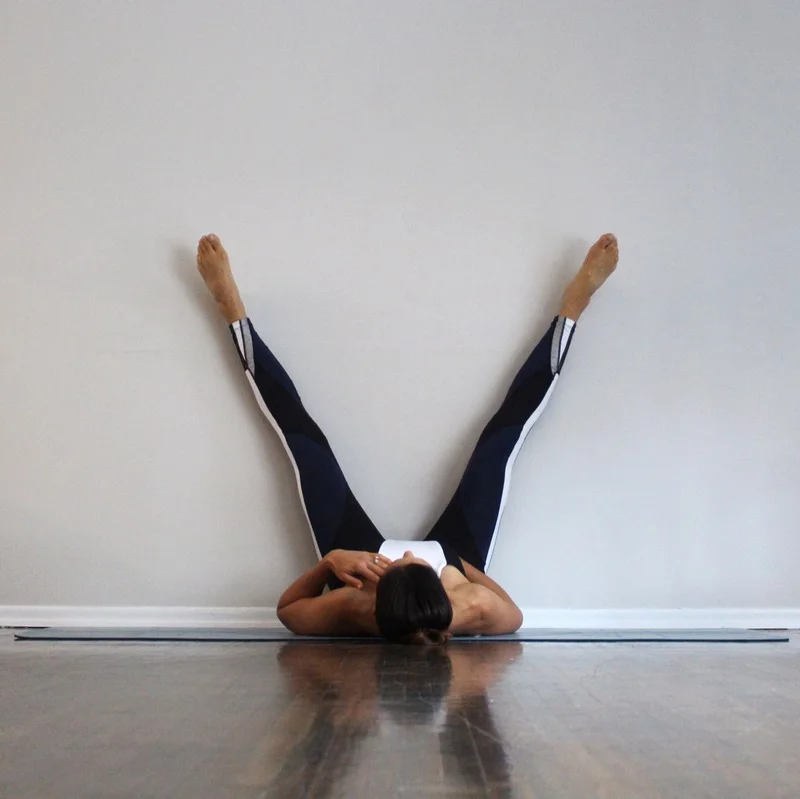
So you finally got your boyfriend to snap a picture of you balancing in Bakasana, or maybe you had to bribe your daughter to photo-document that newfound Natarajasana… but now what? How do you take that pretty yoga pic and make it pop a little more before sharing it with your friends on Insta? Having to edit my own yoga pics for the last few years means I picked up a thing or two about doing just that. Below are a few of my favorite photo-editing apps to help bring your photos from Blah to Ahhh! in a matter of minutes.
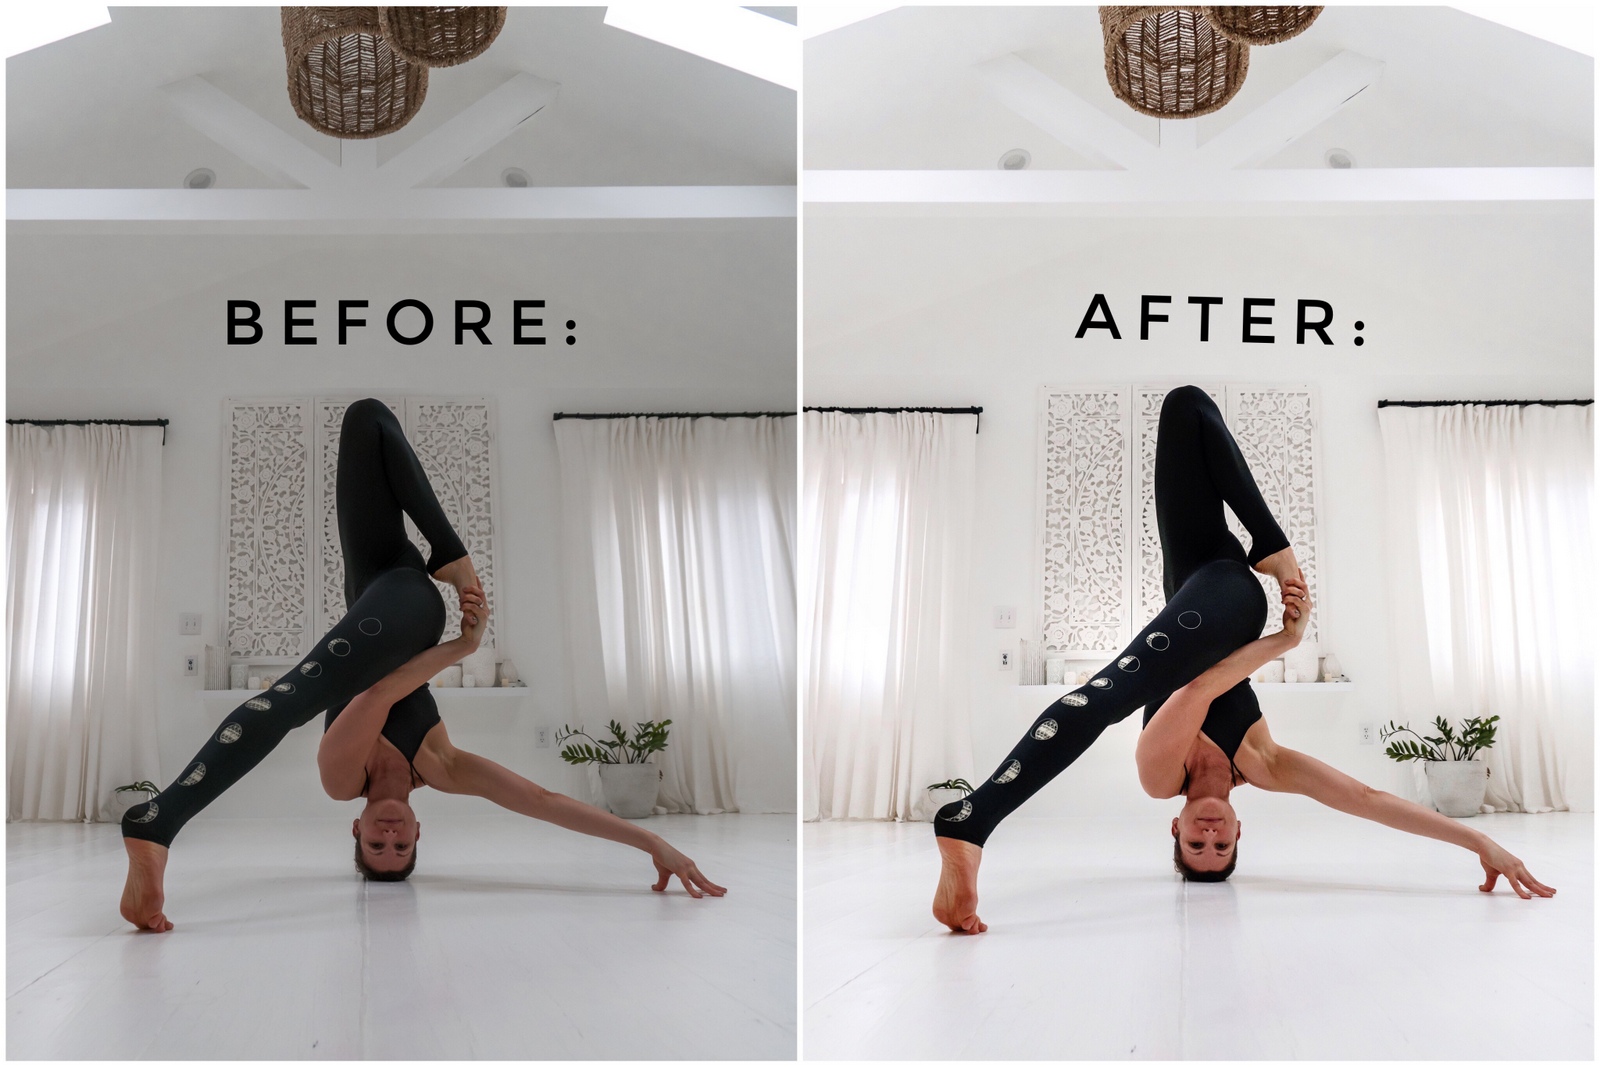
Snapseed – This is, hands-down, the app I most often use for editing my photos. After importing a picture, I start out by selecting the ‘Tune Image’ feature. This is where I play around with the Brightness, Contrast, Ambiance, Highlights, and Shadows to see what looks best. Because every photo is unique, the way I adjust these settings always varies from image to image. If I want a darker, more mysterious look I might use the Vignette tool, and if ‘light & airy’ is what I’m after I’ll probably increase the Highlights a little more. Another feature I like to use is the ‘Details’ tool where I can sharpen or soften a photo depending on its mood. Snapseed offers so many editing options and is quite a powerful little app, so spend some time experimenting with it to see what style and look you like best.

Snapseed: Tune Image
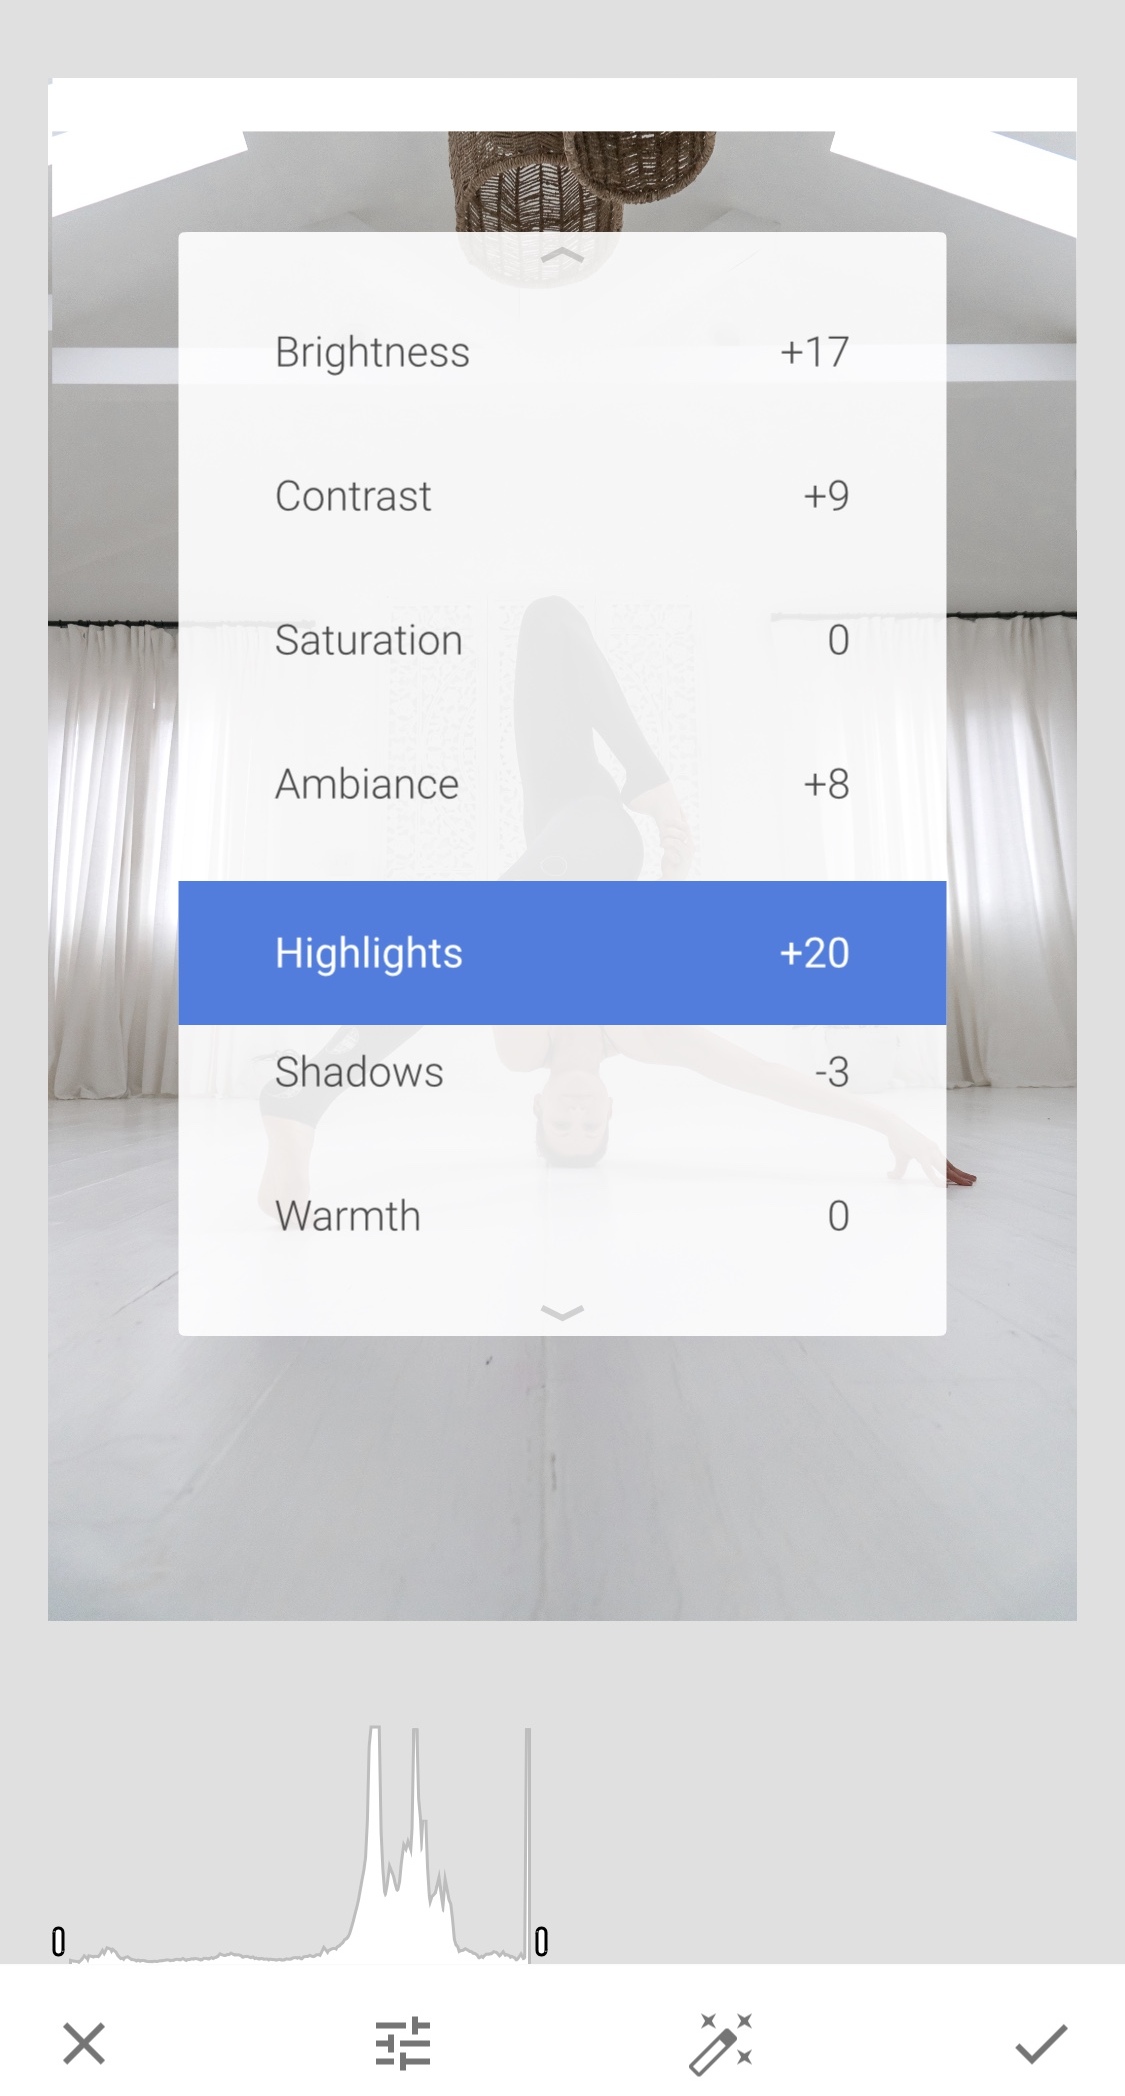
Snapseed
VSCO – There’s good reason why this app has been around for so many years and still remains popular with creatives. With VSCO’s expansive selection of filters and artsy vibe, it’s long been a go-to for myself and many others. There are a few presets I tend to favor (like ‘A6’), but I always lower the intensity (usually to about 30%). I also tweak the ‘White Balance’ & ‘Skin Tone’ settings, where I might add some warmth to an image, or perhaps take some redness out of my skin (if I’m resembling the tone of a tomato).

VSCO

VSCO

Afterlight - Dusty Overlays
Afterlight – Admittedly I don’t use this app nearly use much as the previous two, but it can come in handy with a photo that needs a little something extra. Afterlight has a nice number of built-in filters, but the features I like best are their overlays, ‘Dusty’ and ‘Light Leaks’. Dusty, which includes more than 10 options, is perfect if you want to add scratches or grain to your photo for a vintage vibe. Light Leaks, which has over 30 adjustable overlays to choose from, is great for achieving that sought-after retro look. I never use both at the same time, and I generally lower the intensity of the overlay to about 50%, which gives the image a nice subtle-kick.
One final word of advice: the key here isn’t to mimic anyone else’s style, but to find your own. That’s the beauty of creativity - we each have a unique viewpoint to share. Experiment with your images and editing, play around with different perspectives and proportions, but ultimately find a style that best represents YOU.
PS. If any of these editing tips helped you, tag me on Instagram and use the hashtag #yogawithriva so I can see the final result!