Autumn is one of my favorite seasons - the air feels fresher, the leaves get more colorful, and pumpkin spice lattes start making their way back onto all the menus. I get excited for cozy sweaters and cute boots, and I’ve been known to celebrate Black Friday as enthusiastically as Thanksgiving (on more than one occasion). But even still, there are definite moments where I feel the ‘fall funk’. Perhaps it’s the time change and shorter days that leave me feeling a little less motivated than usual. Or maybe it’s the thought of a long winter just around the corner that makes me a tad restless. Either way, the good news is that rolling out my mat always gets me back on track. And on the days when I don’t have time for a full yoga practice, the below postures never fail to boost my mood and help me feel more grounded.
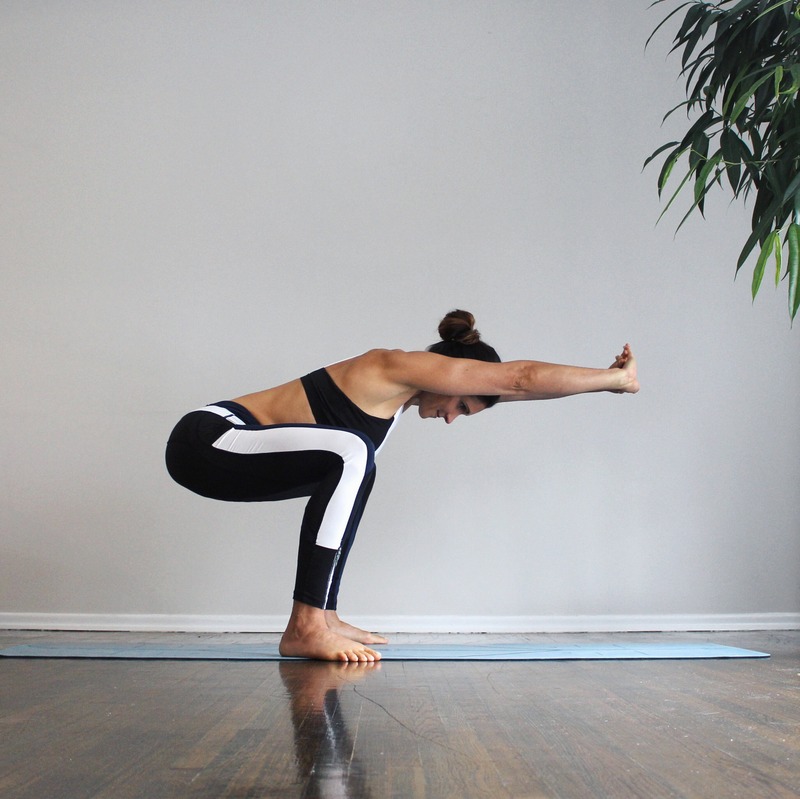
1. Boat Pose (Navasana)

Boat Pose
This pose is popular for building strength in the core & hip-flexors, but did you know it also helps relieve stress? Boat Pose creates a sense of grounding by connecting our Root Chakra (the energy center located at the base of the spine) directly to the earth.
To Perform Boat Pose:
Begin seated with your legs extended and your hands a few inches behind your hips.
Bend your knees and raise your feet off the floor, so that your thighs create an angle about 45 degrees to the floor. Extend your arms straight alongside the legs, and parallel to the floor. (if not possible, keep the hands on the floor).
Lengthen your tailbone downward, and if possible, begin to straighten your knees (if not possible, keep the knees bent with the shins parallel to the floor).
Think about grounding the tailbone downward, extending the crown of your head upward, and keeping the core engaged.
Hold for 5-10 breaths and then slowly lower the arms and legs to release.
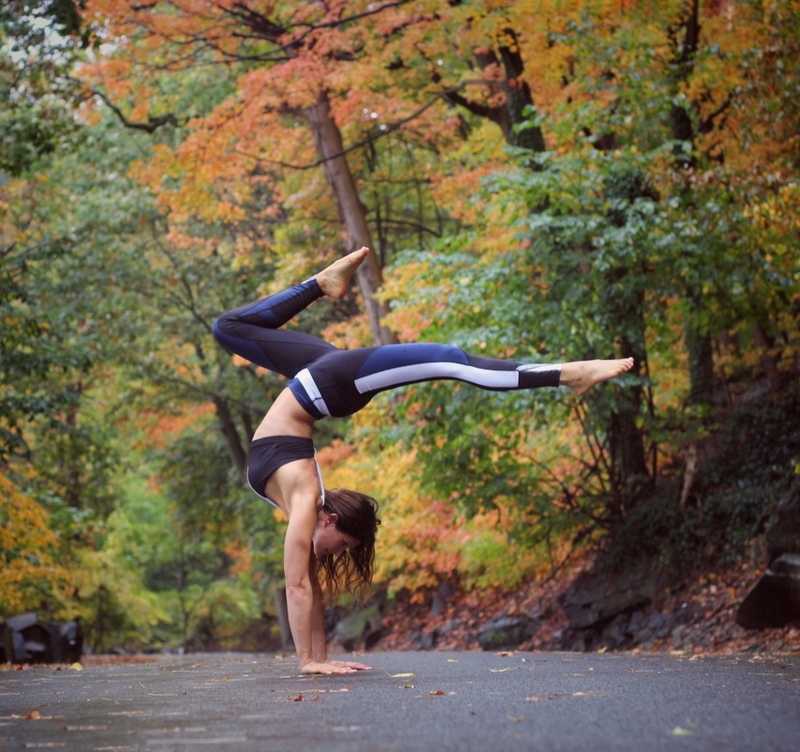
2. Inversions
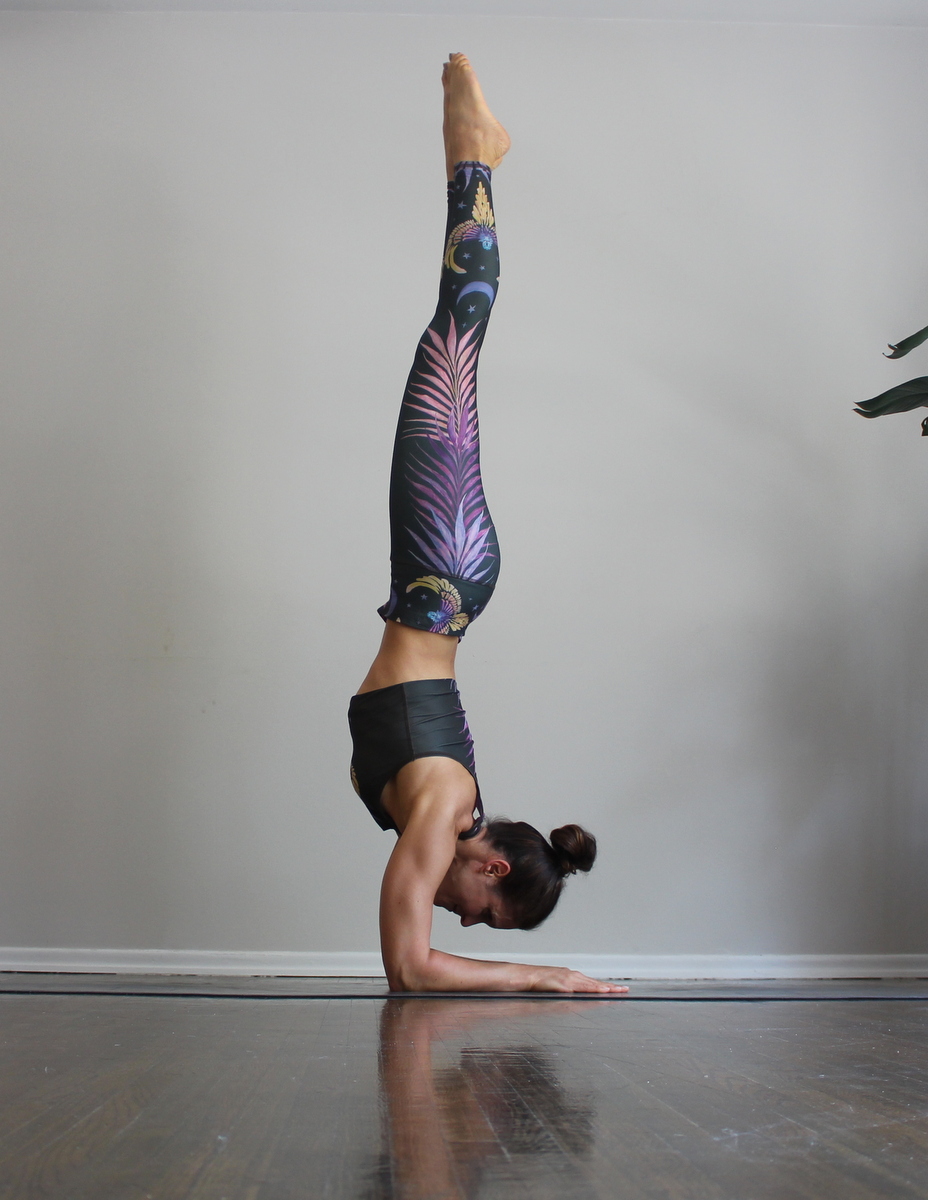
Yoga inversions (poses where the heart is lower than the head) are unique in that they are both relaxing and energizing. And perhaps even important is that they get us to change our perspective on the world - literally & figuratively! Headstand (shown here) is just one kind of inversion, but if this posture is not a part of your practice, try one of many other inversion options, such as Downward Facing Dog or Legs Up the Wall.
To Perform Headstand:
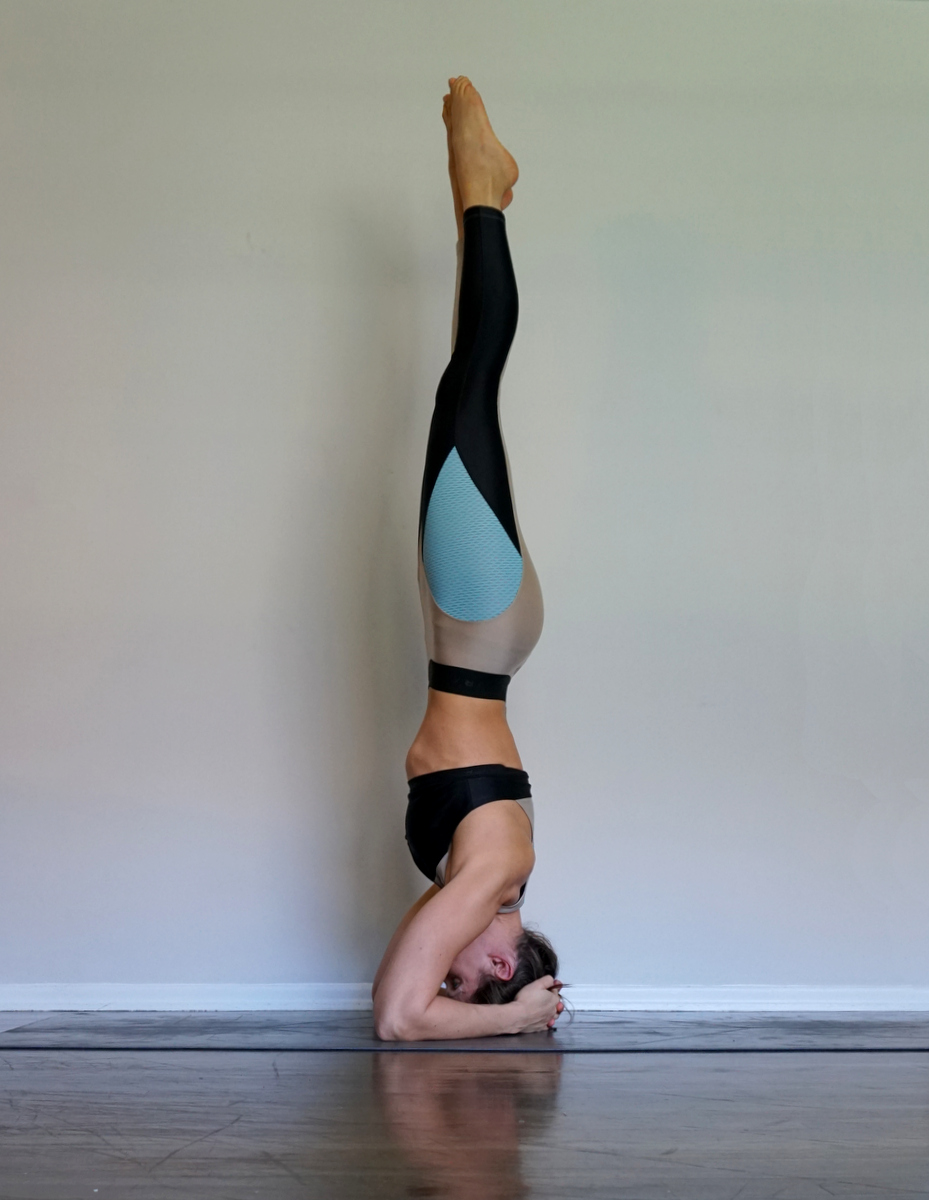
Headstand
Begin on your hands & knees, then lower your forearms to the floor with your elbows directly under your shoulders (you can clasp each hand around the opposite elbow to ensure that your elbows are the right distance apart).
Clasp your hands, interlacing your fingers, and place the crown of your head on the floor. The back of your head should rest gently at the base of your thumbs.
Raise your hips & straighten your legs. Slowly walk your feet in closer to your head until your hips are over your shoulders.
Now bend your knees, and begin to draw one knee in toward your chest. If you feel balanced here, lift that foot up from the floor. Again, if you feel totally balanced, repeat with the other leg so that both feet are off the floor. You can keep the knees bent, or extend the legs straight (this will make the balance more challenging).
Hold for 3-5 breaths and then slowly lower one leg at a time to release.
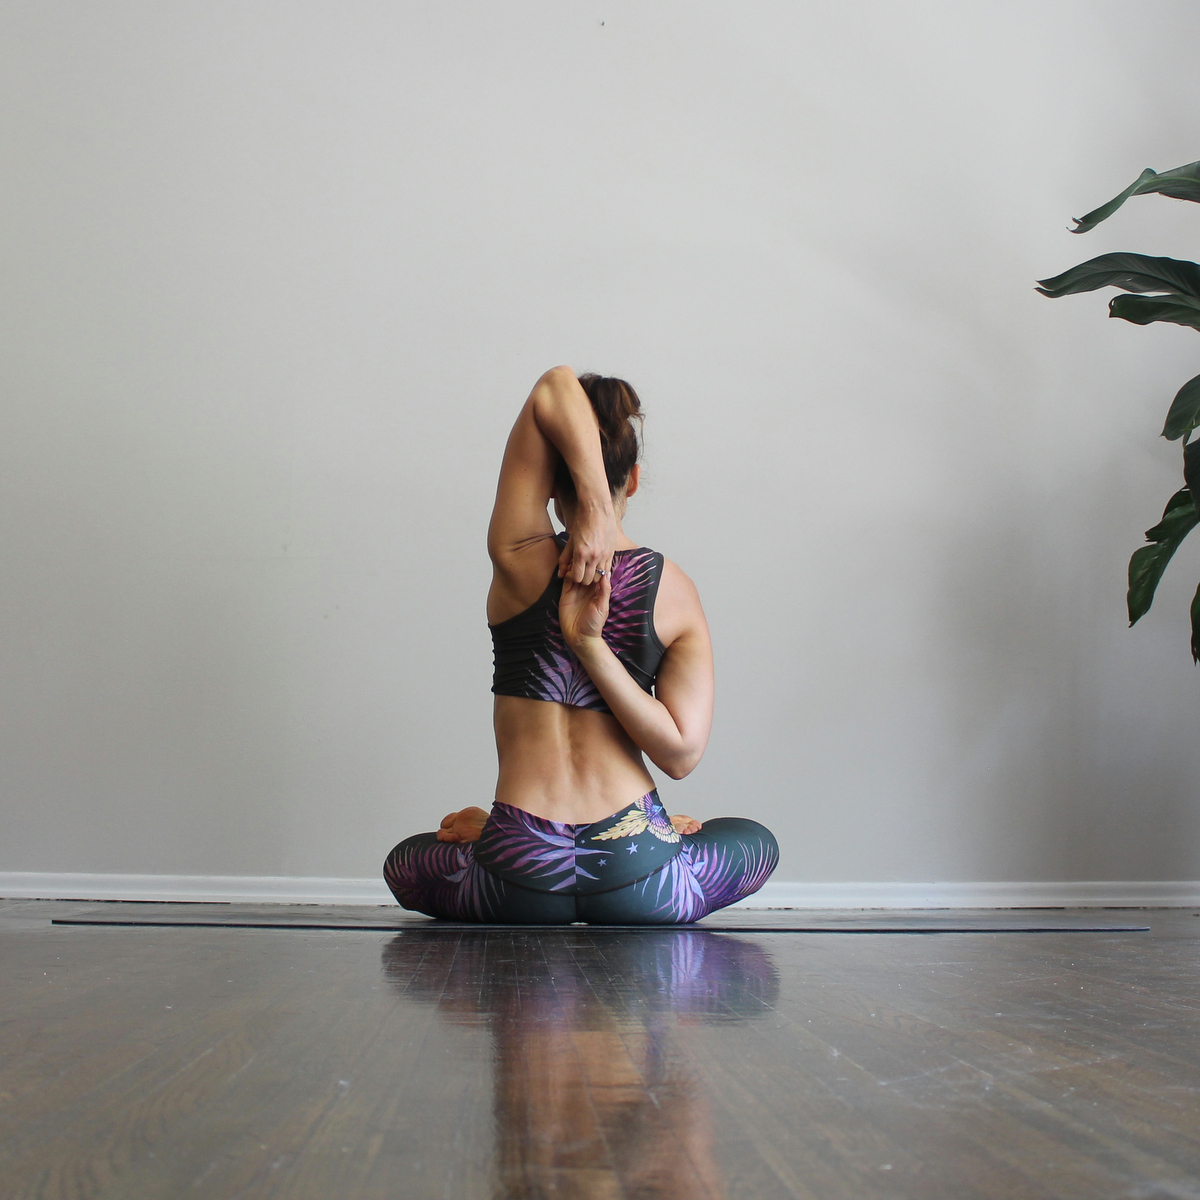
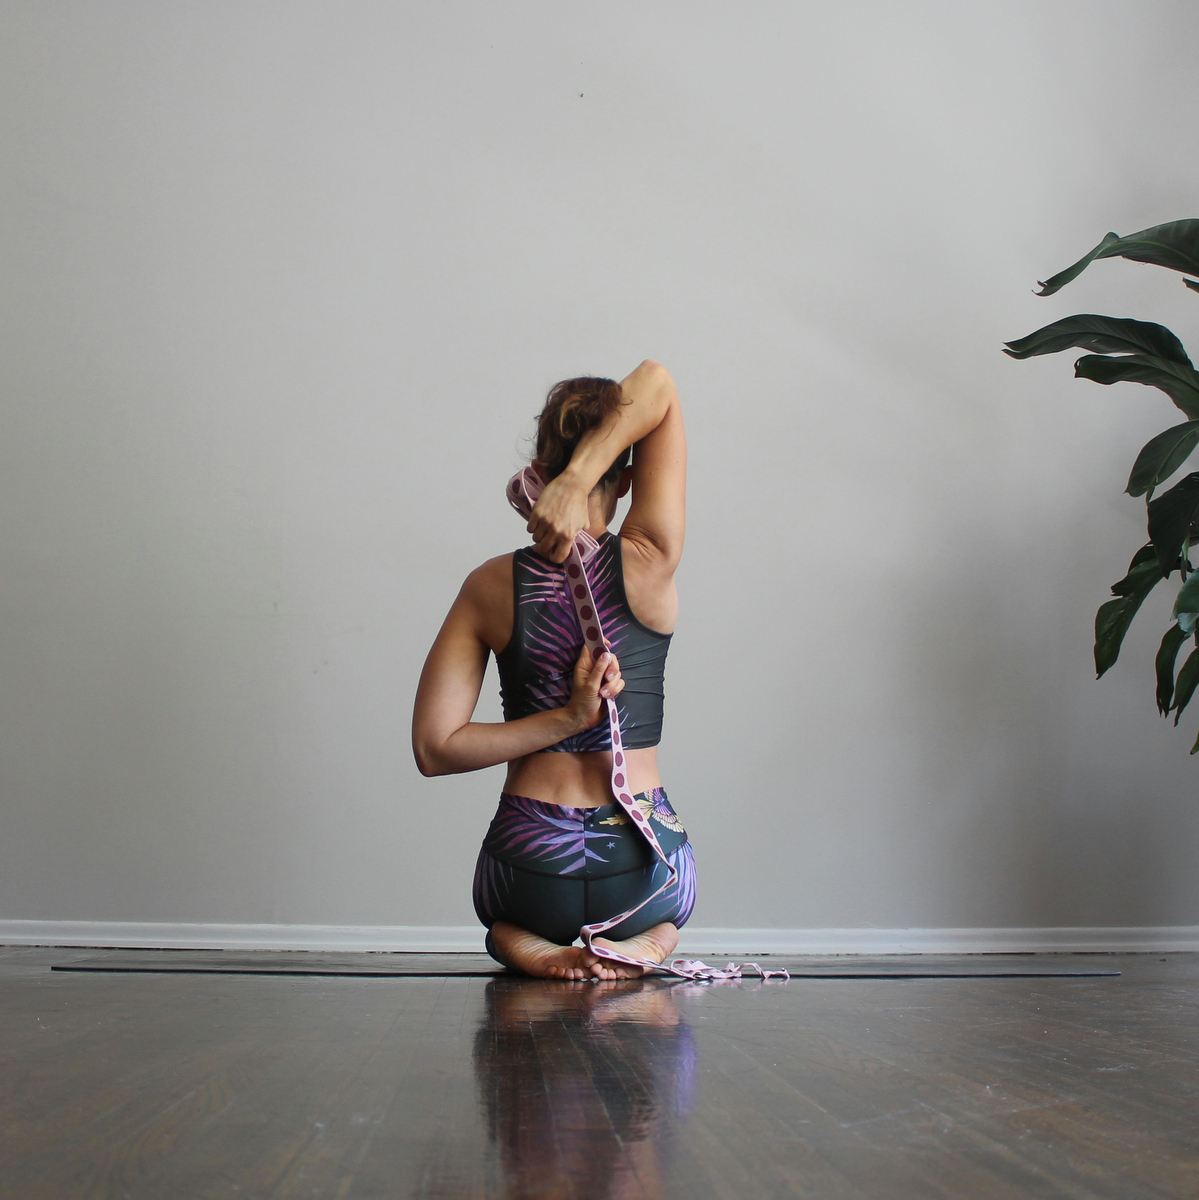
3. Heart Openers
Heart-openers such as Camel Pose are instant mood-boosters, and a great way to warm up the body as the weather gets cold. Additional bonus: they also help improve posture by reversing the many hours of leaning forward we do on a day-to-day basis.
To Perform Camel Pose:

Camel Pose
Begin on your knees with your legs hip-width apart. Place your palms on the back of your pelvis, with your fingers pointing to the floor.
Lengthen your tailbone downward as you begin to lean back, with your chin slightly tucked.
Stay here, or if you are comfortable, you can deepen the pose by reaching back and taking hold of your heels. If you can’t quite reach your heels, you can tuck you toes to elevate your heels.
Lengthen the spine bring your hips forward so that your hips are directly over your knees. Keep your head in a neutral position, or let it drop back if it feels comfortable for your neck.
Hold for 5-8 breaths, then bring your hands to your hips and lift your torso as you press your hips downward to release.
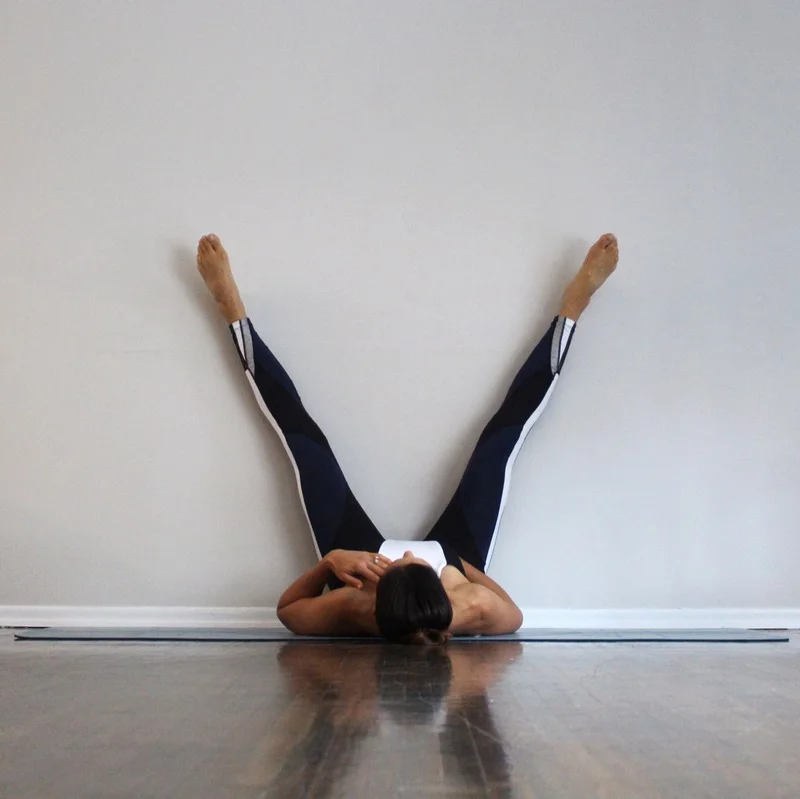
4. Happy Baby Pose
This posture embodies its name by instantly melting stress away and awakening our inner child. It releases the low back & sacrum while providing a gentle stretch to the hips - a place where many of us hold tension.
To Perform Happy Baby Pose:
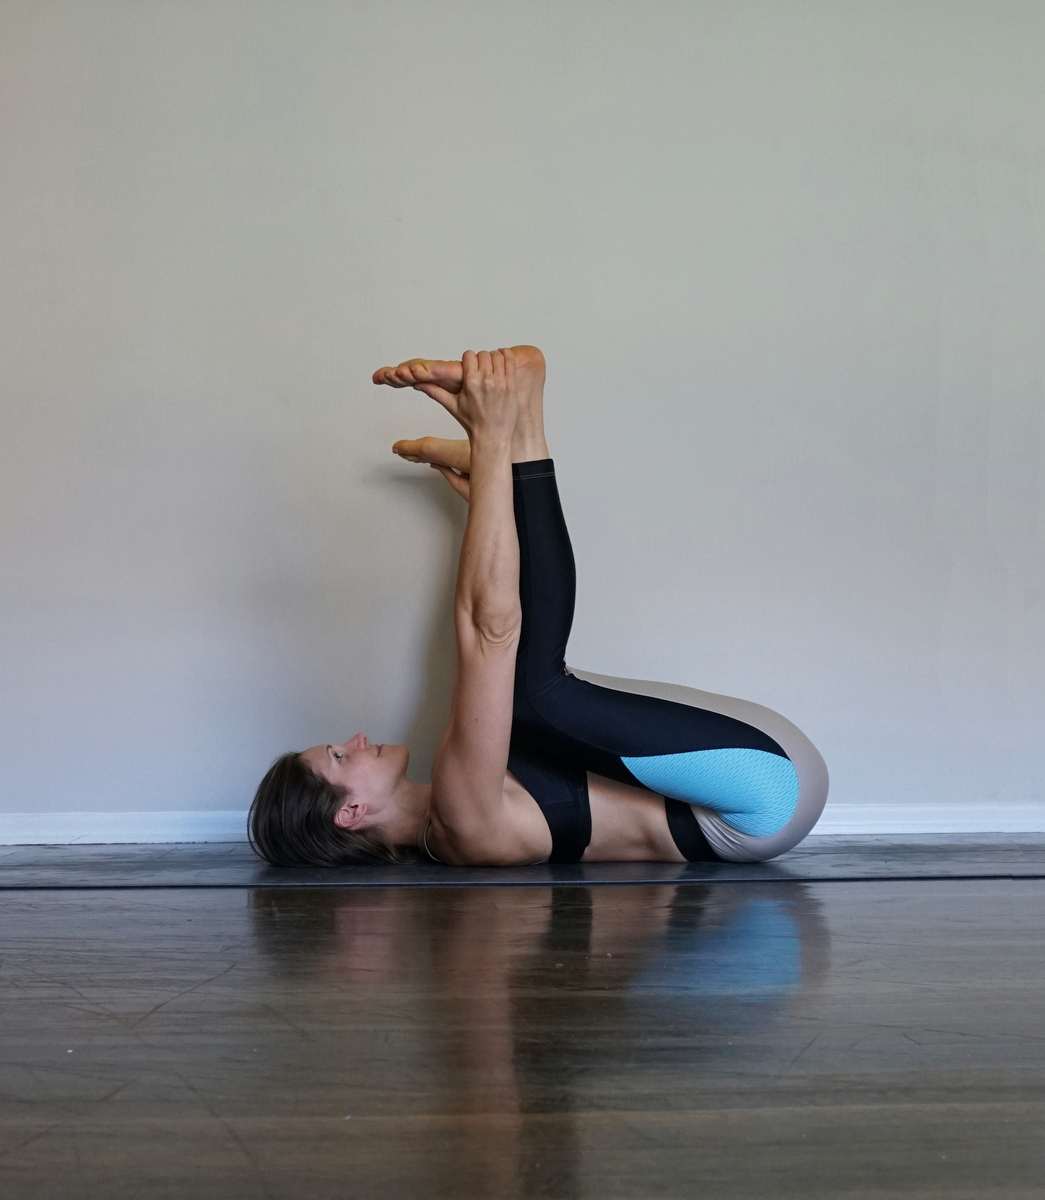
Happy Baby Pose
Begin lying on your back with your knees drawn in towards the chest.
Grab hold of the outside edges of your feet with your hands. Draw your shoulders down on to your back as you flex your feet.
Widen the knees as you pull them in toward your armpits. Try to stack ankles above knees.
Lengthen your lower back down toward the ground, with the intention of touching the tip of your tailbone to the floor.
Stay here for 8-16 breaths and then lower the legs to release.
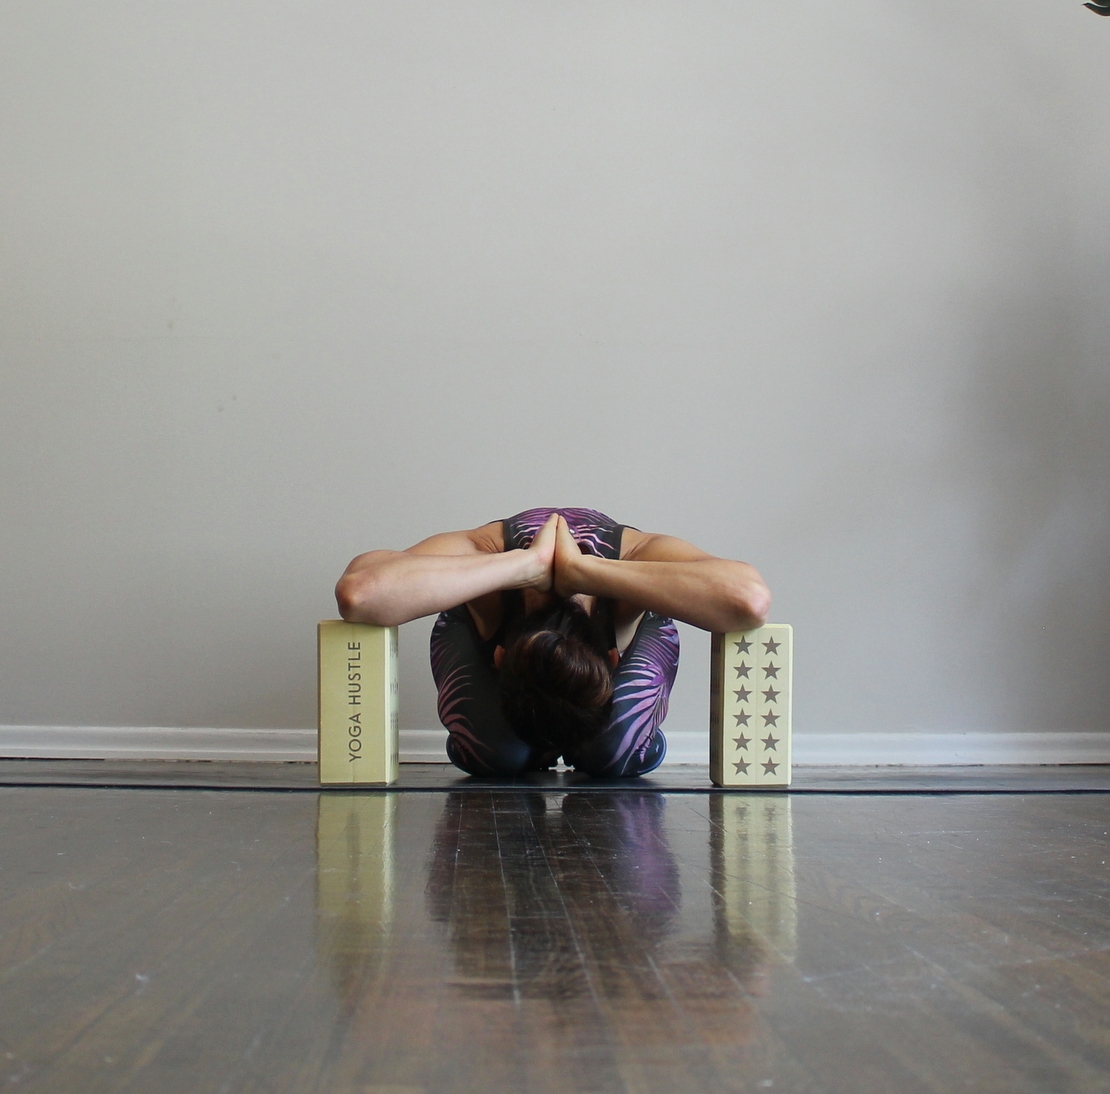
5. Child's Pose
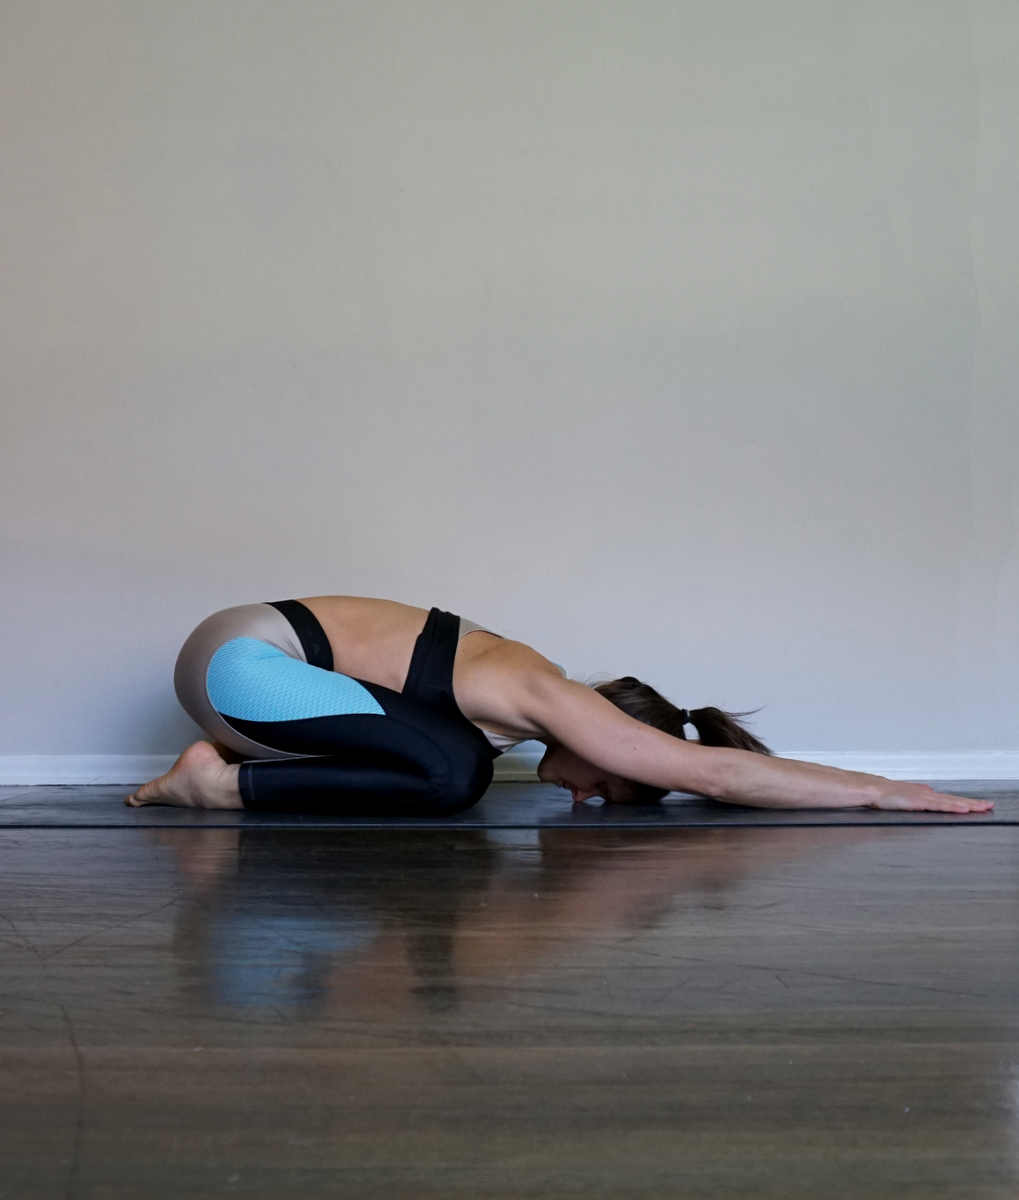
Child’s Pose
This classic resting posture is a favorite for good reason. It’s incredibly calming and comforting, and provides a wonderful sense of physical, mental, and emotional release.
To Perform Child’s Pose:
Begin on all fours, with your shoulders directly over your wrists and your hips over your knees. With an exhale slowly lower the hips down to the heels and the forehead to the floor.
The knees can stay together or if more comfortable, spread them slightly apart. The arms can be overhead with the palms on the floor, or they can be along side the body with the palms up.
Breathe slowly and deeply. Actively press the belly into the thighs on each inhale.
Stay here for 10-20 breaths. Slowly return to a seated position to release.