Whether you're new to yoga, or a seasoned practitioner, there's a good chance you've experienced wrist tenderness at some point in your practice. Many of the postures we regularly perform - Crow Pose, Wheel Pose, Chaturnaga, and even Downward Facing Dog - have us bearing weight in the delicate wrist joints. Misalignment in these poses, or lack of necessary strength and flexibility, are some of the major reasons our wrists can feel sore during or after a practice.

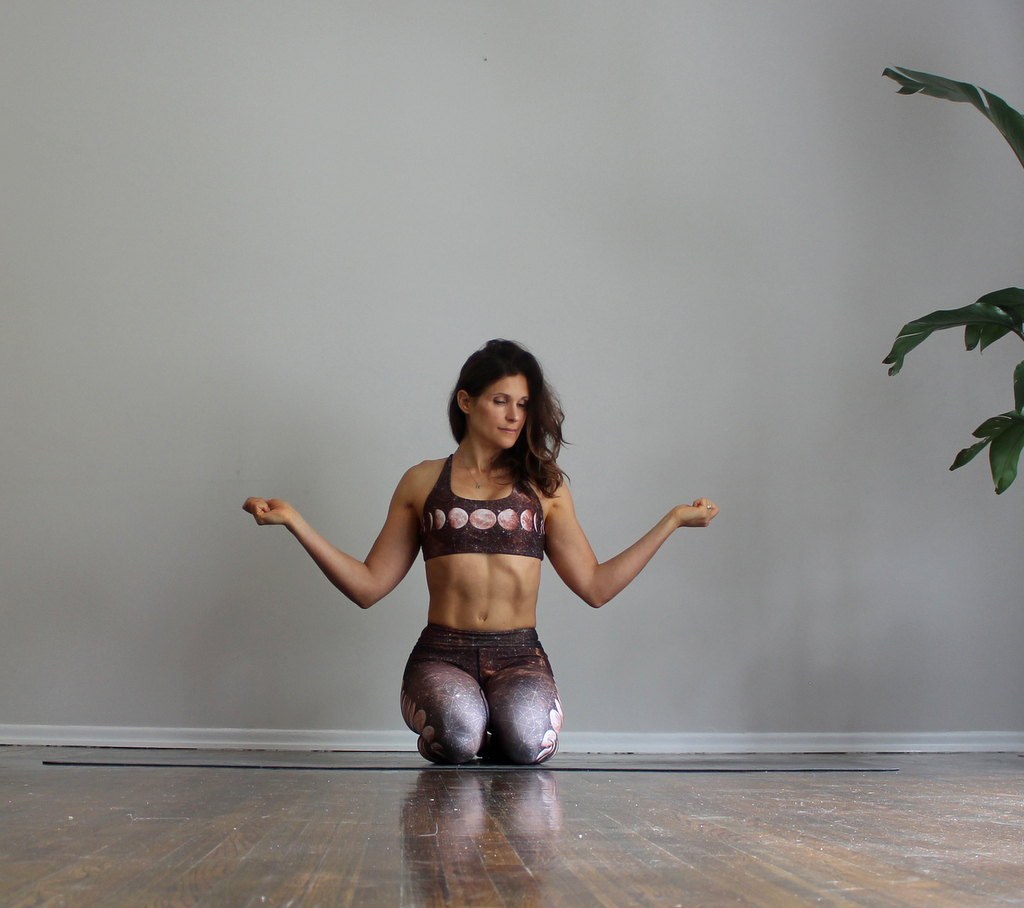
Poses that bear weight in the wrists
Incorporating targeted stretching & strengthening exercises into your routine is an effective way to alleviate wrist soreness and help prevent injury. Below is a sequence of 5 poses to strengthen and mobilize your wrists as well as reduce tension in the surrounding areas (such as the hands, fingers, and forearms).
1. Wrist Circles
Wrist Circles
Curl your hand into a fist with your fingers wrapped over your thumbs.
Tightly clench your fists as you rotate your hands in a circular motion. Make the movements slow and deliberate, bringing your awareness to the muscles of your wrists.
Circle each wrist ten times before switching to the opposite direction.
2. Hand Under Foot Pose
From Mountain Pose begin to fold forward. Bend your knees as much as necessary so that your belly connects with your thighs.
Place your hands on the ground with your palms facing upward. Slide your hands under your feet until your toes are touching your wrists.
Play around in the pose by shifting your weight forward and pressing the toes into the muscular part of the palms. Your knees can remain bent, or you can straighten them for more of a challenge, if you feel comfortable doing so (make sure your hamstrings are properly warmed up first).
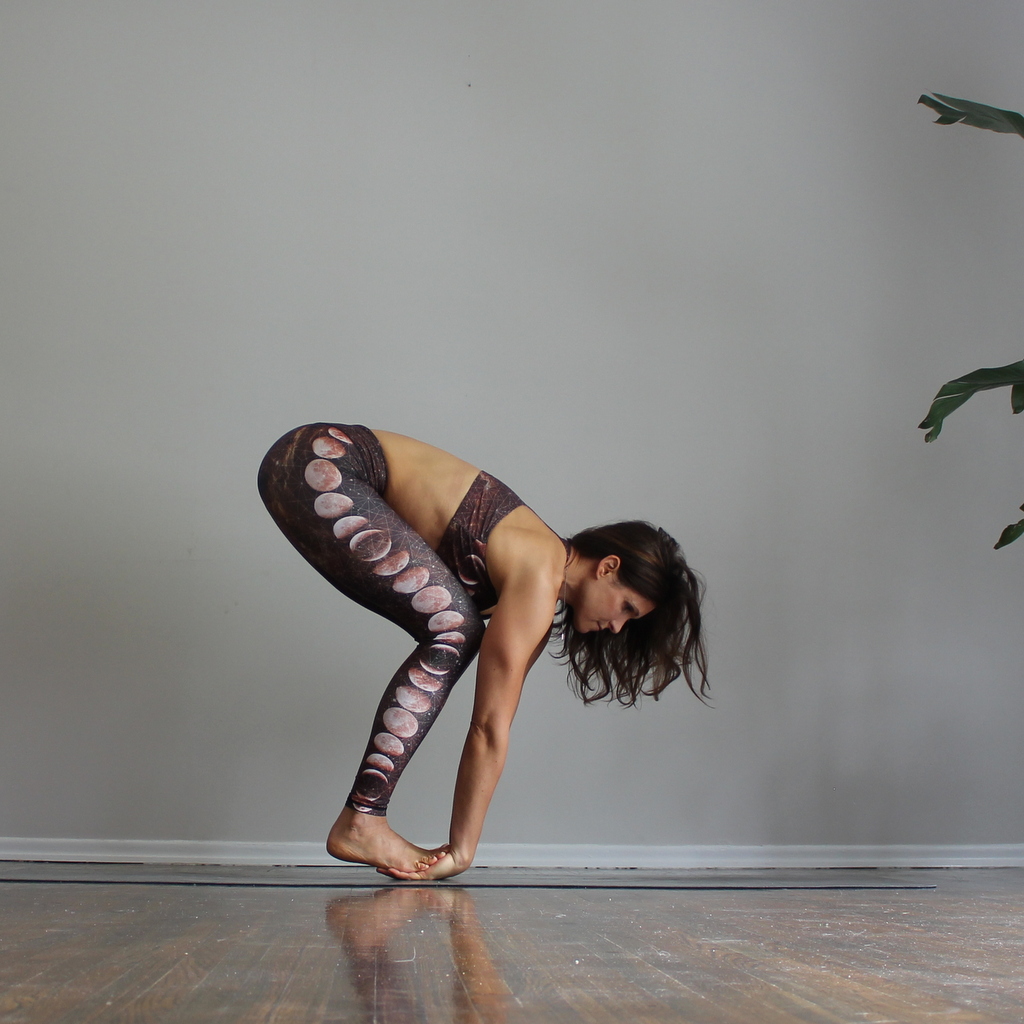
Hand Under Foot Pose (with bent knees)
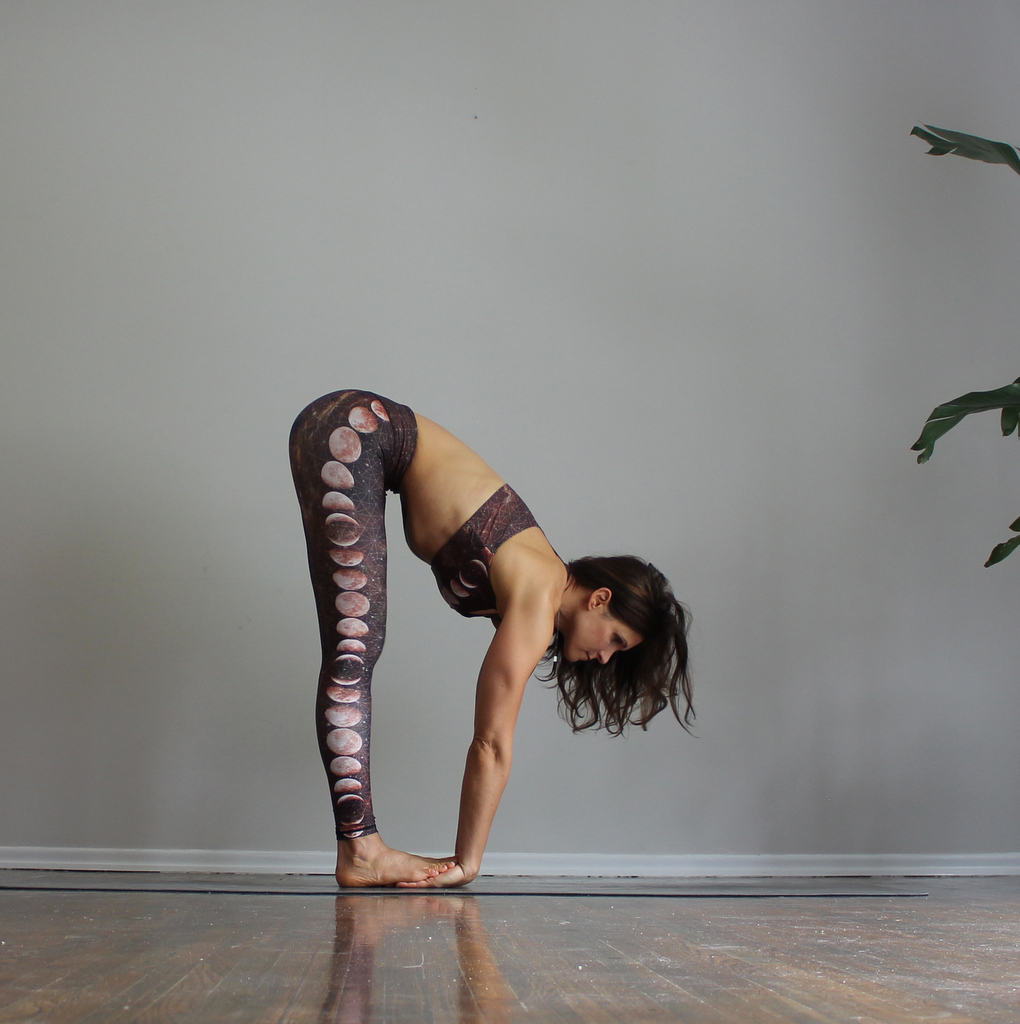
Hand Under Foot Pose
3. Upward Bound Finger Pose

Upward Bound Finger Pose
Begin seated with your fingers snugly interlaced. Place the back of your hands on top of your head with the palms facing upward.
Slowly begin to straighten your arms as you raise them up toward the ceiling. Make sure to keep the muscles in your back and neck relaxed. If you feel any tightening in the shoulders, back, or neck, pause and soften them before continuing.
Once the arms are fully extended, slowly lower them back down so that your hands return to the top of your head with the palms facing upward.
Repeat this 5 times. You can also perform this exercise by extending your arms straight out in front of your chest, and then returning your arms back above your head.
4. Table Pose Wrist Stretch

Table Pose Wrist Stretch
Begin in Table pose, with the hands on the floor directly under your shoulders and the fingers pointing forward.
Slowly begin to rotate the hands outward in a semi circle until your fingers are pointing back towards your body.
Hold for 6-10 breaths. For a deeper stretch you can gently ease the hips back and shift more of your weight into your heels. You should feel a very deep opening in the wrists and forearms. Take care to only go as far as feels right for you.
5. Reverse Prayer Stretch (Phalen's Test)

Reverse Prayer Stretch
Place the backs of his hands together at chest level, with both wrists completely flexed.
Press the hands firmly together (from the knuckles to the fingertips) for up to one minute.
NOTE: Pain or tingling along the inside of the wrist may be an indication of carpal tunnel syndrome (always consult a medical professional first if you're experiencing any unusual pain).