A counterpose in yoga is a posture that helps neutralize the body after performing a particular pose. Its purpose is to restore balance in the body, especially in the spine and pelvis. Very often a counterpose will integrate the action of the preceding posture, but in a neutralizing (and sometimes opposing) manner. For example, after performing Cobra Pose (a gentle backbend), one possible counterpose would be Table Top Pose (which returns the spine to neutral). Another option would be Downward Facing Dog Pose (which encourages lengthening and neutralizing the spine.) Counterposes help us avoid injury and imbalances in the body, and most of the time, they feel good too.
Below are a few of my go-to counterposes (along with the poses they are countering):
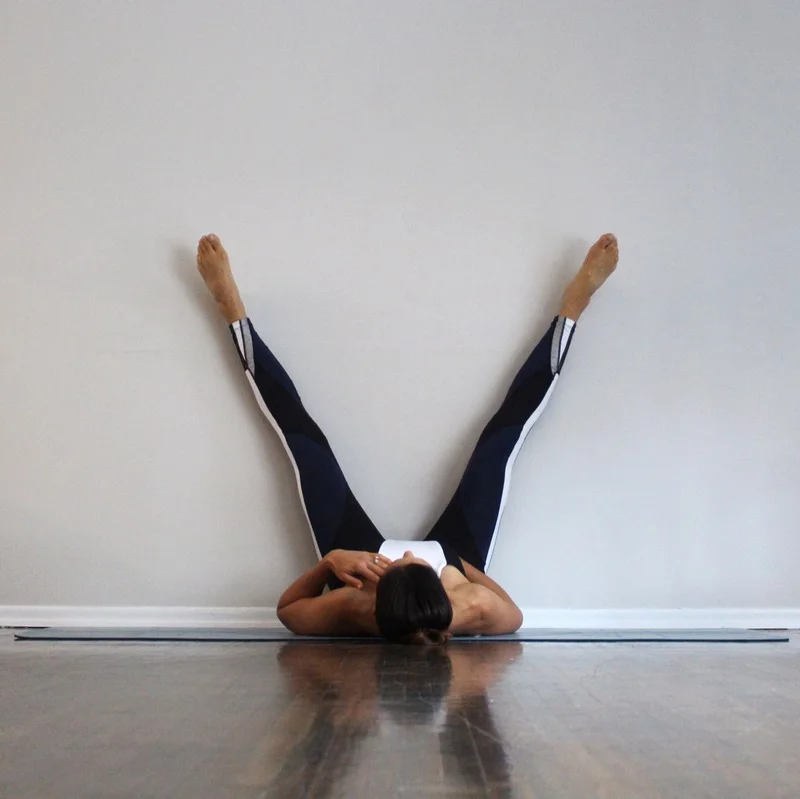
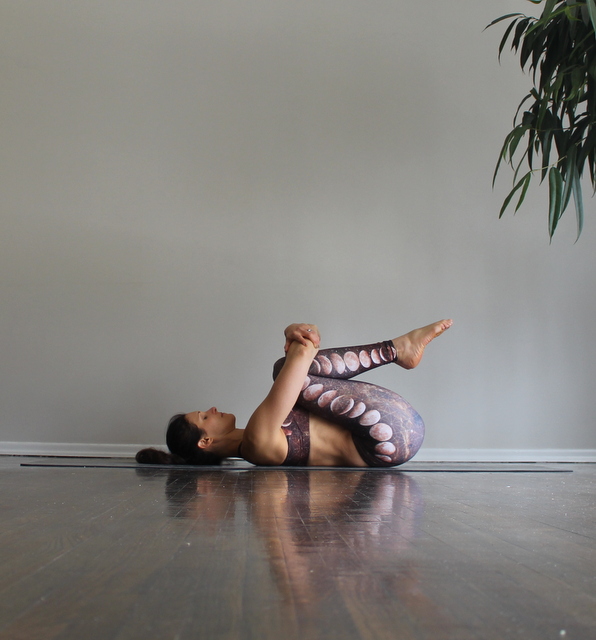
1. Backbend/Knees to Chest
After practicing any kind of heart-opening pose, such as Wheel, Camel, or Bow Pose, the tendency is to want to take the body into a complete forward fold. But moving back and forth between the two extremes can cause strain in the body. A preferred counterpose would be a posture such as Knees To Chest, which gently stretches and neutralizes the spine:
To Perform Knees to Chest:
Lie on your back, with your legs and arms extended. Exhale and draw both knees into your chest. Clasp your hands around your knees if possible.
Keep your back flat on the ground. Draw your tailbone and sacrum downward, lengthening your spine. Gently tuck your chin and gaze toward your knees.
Hold for 20 breaths. Slowly release your knees and lower your feet to the ground.
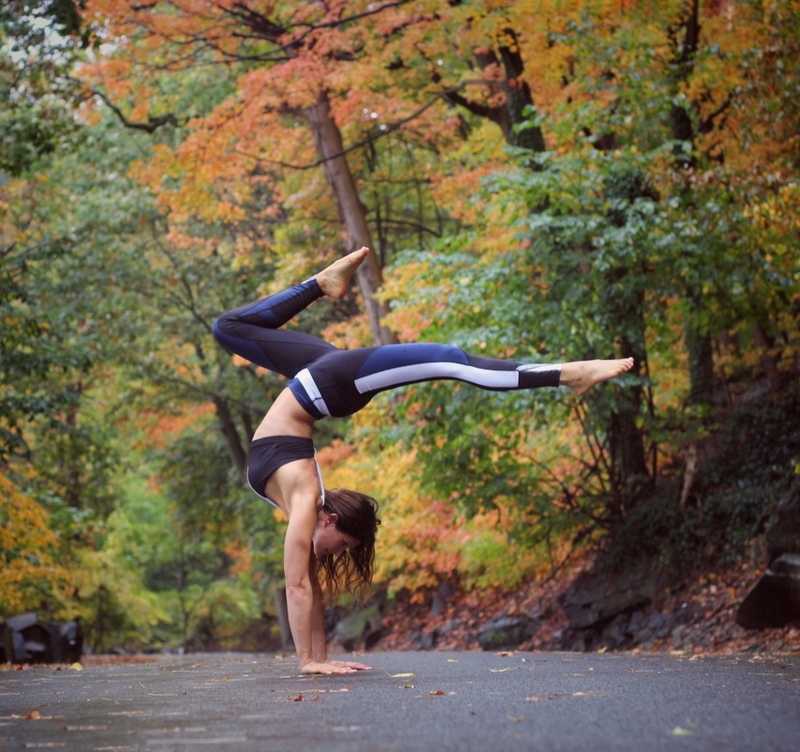
Wheel Pose
Knees to Chest Pose
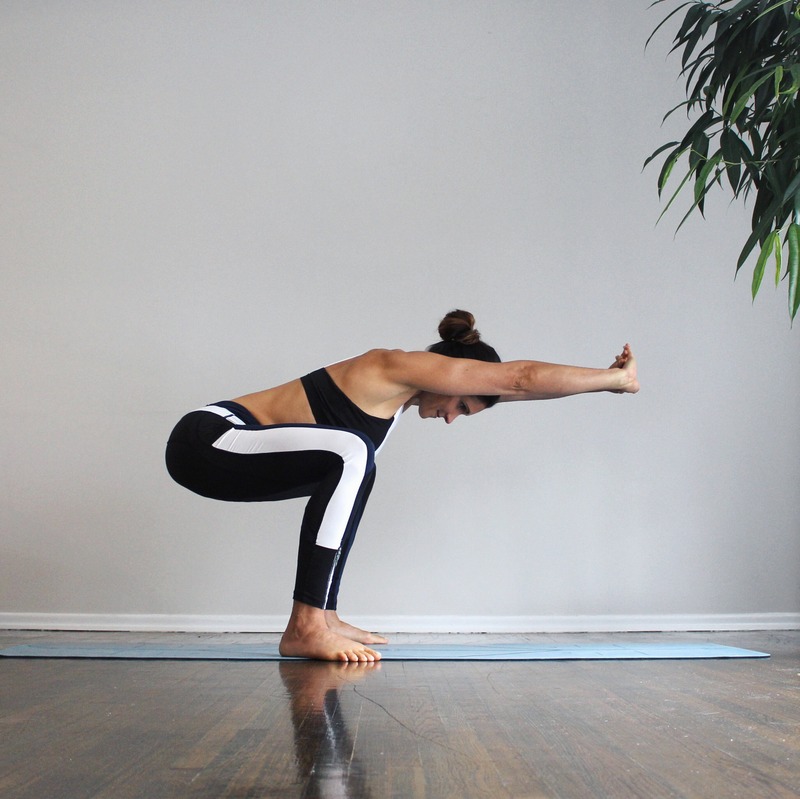
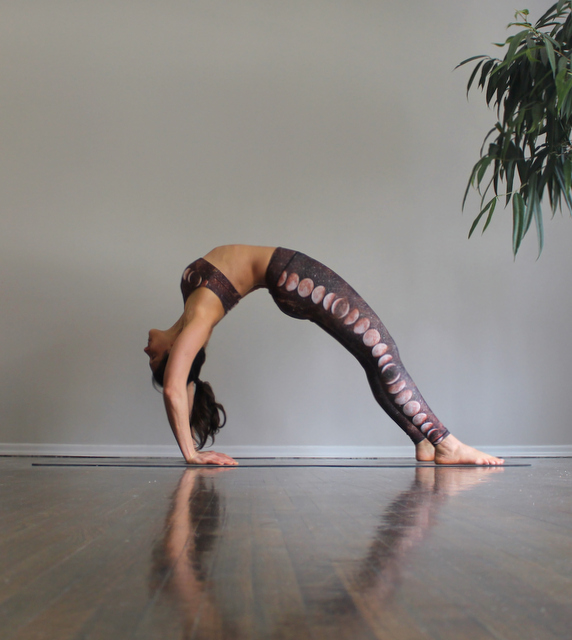
2. Forward Fold/Upward Plank Pose
Forward folds, such as Paschimottanasana, are wonderful for stretching the back side of the body, including the spine and hamstrings. A perfect counterpose would be one that gently opens the front side of the body, such as Upward Plank Pose (Purvottanasana), which stretches the shoulders, chest, and ankles:
To Perform Upward Plank Pose:
Begin seated with your legs extended and your hands a few inches behind your hips. Your fingers should be pointing forward, and your hands shoulder-width apart.
Inhale and press your hands and feet down firmly down into the ground as you lift your hips upward. Raise your chest toward the sky, and keep your spine in a straight line. Try to press the soles of your feet into the floor. Keep your leg muscles engaged, but don't squeeze your glutes.
Hold for 10 breaths. Slowly lower your hips to the ground to release.
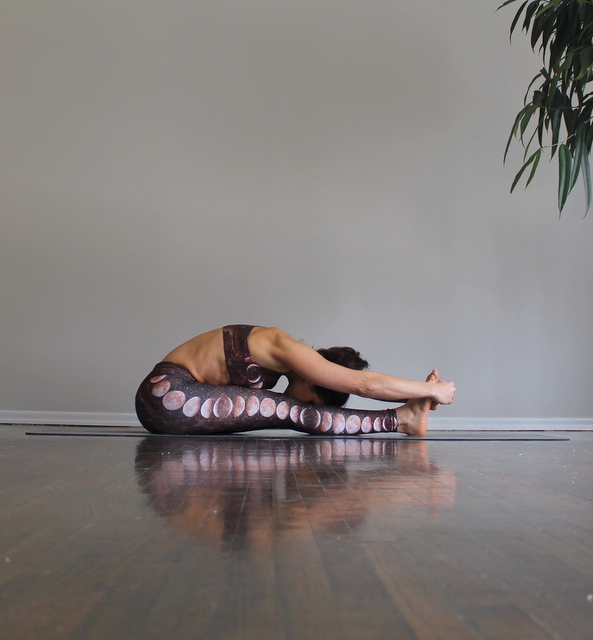
Seated Forward Fold
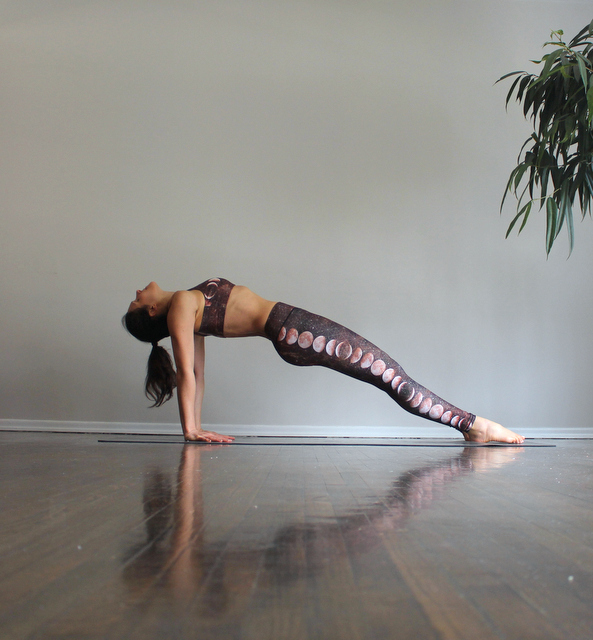
Upward Plank Pose
3. Headstand/Rabbit Pose
Headstand is commonly one of the first inversions that students learn. Having the forearms and head on the floor provide a stable foundation for this inversion, but very often there's a lot of weight & pressure being placed on the head and neck (especially with beginners). Rabbit Pose is a wonderful way to counter that, however it's a also a pose needs to be performed carefully, to ensure that there is no strain in the neck:
To Perform Rabbit Pose
Begin in a kneeling position. Lean forward to place the crown of your head onto the ground (as close to your knees as you can.)
Reach back and grab hold of your heels (or ankles or calves) and begin to lift your hips as you lean forward slightly. You'll start to feel a nice stretch along the back of your neck, but make sure to keep it gentle, and be careful not press your head down too hard.
Hold for 5 breaths. Slowly lower your hips down to release.

Headstand
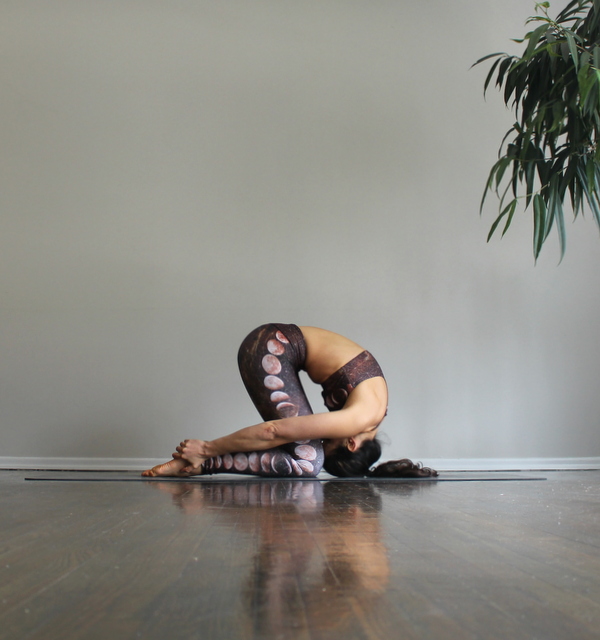
Rabbit Pose
4. Balasana: The Universal Counterpose
Child's Pose is a resting pose and therapeutic posture that can help relieve back and neck pain. Its is a calming counterpose that can be performed at any time during a practice because it helps to restore balance throughout the body.
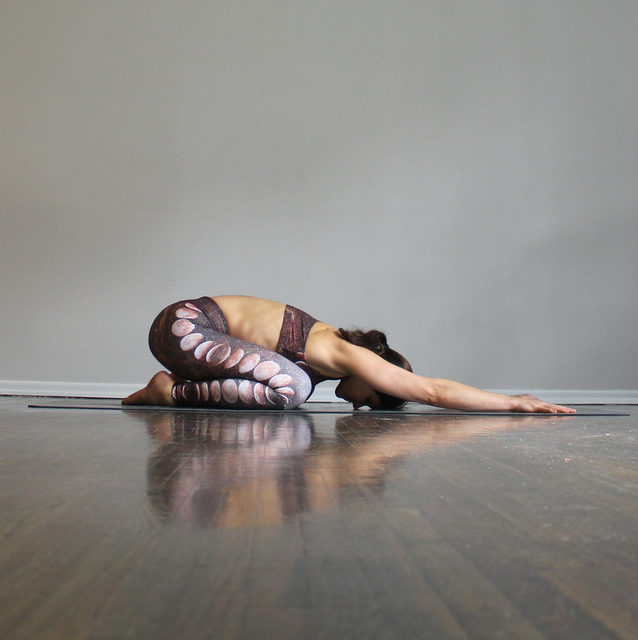
Child's Pose
To Perform Child's Pose:
Begin on your hands and knees. Widen your knees slightly while keeping the big toes touching. Lower your seat down onto your heels. (You can keep your knees together if your hips are tight.)
Exhale and lower your torso down between your thighs. Rest your forehead on the ground, and extend your arms long, with the palms facing down. Lengthen your body from your hips to your armpits, and soften your lower back. Keep your eyes closed.
Hold for 30 breaths. Inhale and sit up to release.