Ahhh mid-January... the time of year we notice our New Year’s resolutions beginning to fizzle out. It’s not that we haven’t been sincere or well-intended, it’s just that, well … it’s a lot harder than we thought. Being a mindful shopper is a goal at the top of many of our lists, but knowing where to begin can feel overwhelming. The good news is that with just a few simple tips, anyone can become a more conscious consumer. Below are some steps that may seem small, but can make a big difference all year round.
1. Check the Labels

STANDARD 100 by OEKO-TEX®
Before buying any new textile products (like clothing, a yoga mat, or certain home goods, etc.), make sure to check the label for product safety certification. While numerous types of certifications do exist, focus on the ones that are most important to your values and criteria. For example, STANDARD 100 by OEKO-TEX® is a safety certification that ensures every component of an article has been tested for harmful substances. Knowing that your favorite pair of leggings or the yoga mat you practice on every day is safe from toxic or harmful chemicals can be a vital piece of information.
2. Research the Brand
Shopping more consciously also means researching the companies that manufacture items you want. Keep an eye out for brands that have ethical practices and environmentally friendly facilities. One option is to look for this information on the company website, though admittedly, that can be tedious. A helpful place to research businesses is through a reliable organization, like OEKO-TEX®, which certifies brands such as Manduka for worry-free shopping.
3. Shop Secondhand
Before making a new purchase, consider shopping at a local thrift shop for the same item. Not only is secondhand more sustainable, it's also a great way to find high-quality items at more affordable prices.
4. Look for Local
Grocery shopping at smaller, locally owned supermarkets doesn’t just mean produce is typically fresher, but can also indicate a reduction in CO2 emissions since the food items have a shorter distance to travel. Another benefit of shopping local? It’s a great way to support our local economy and help keep local farmers in business.

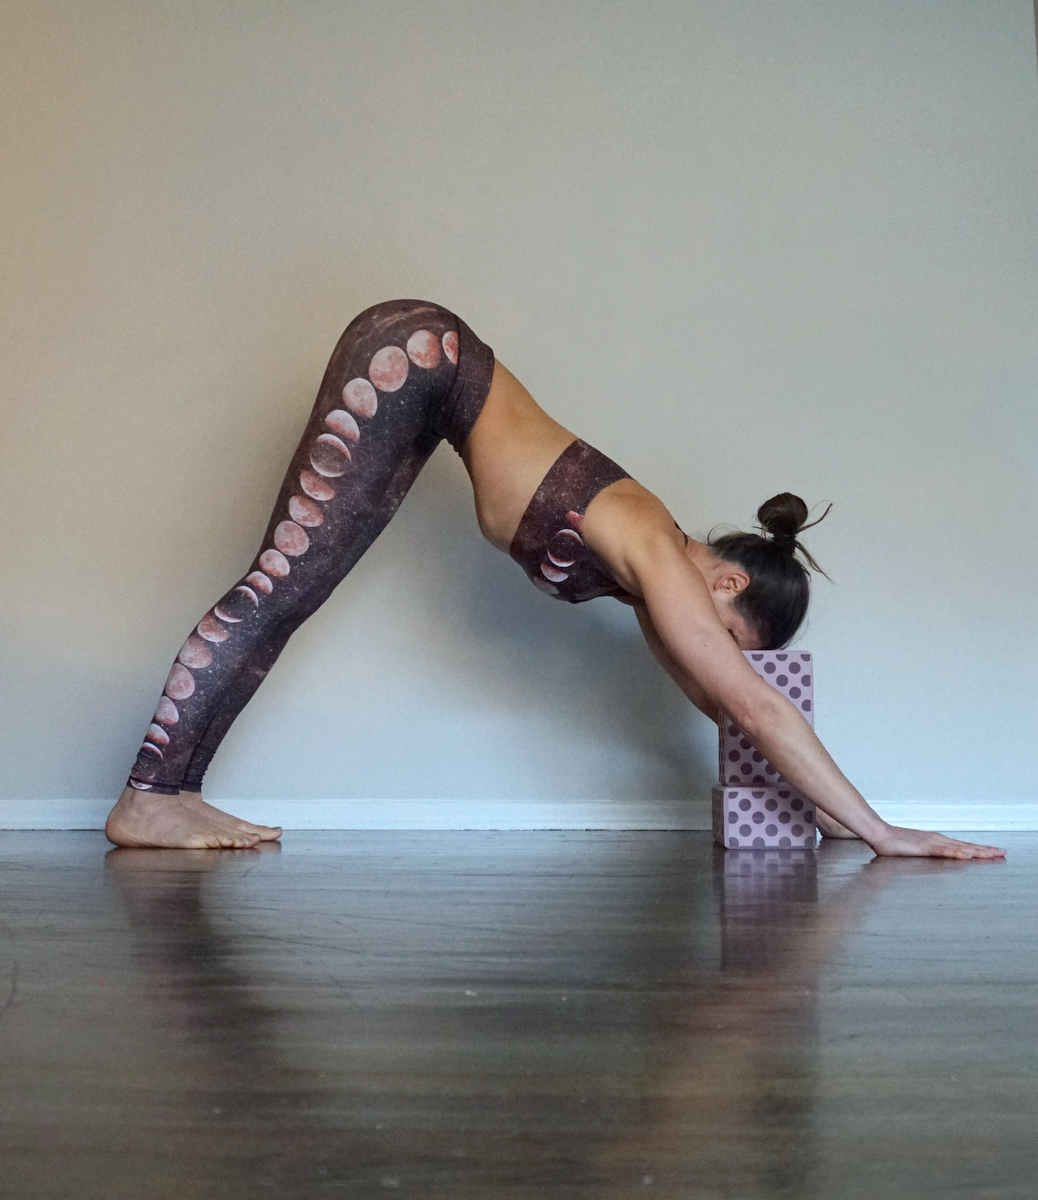
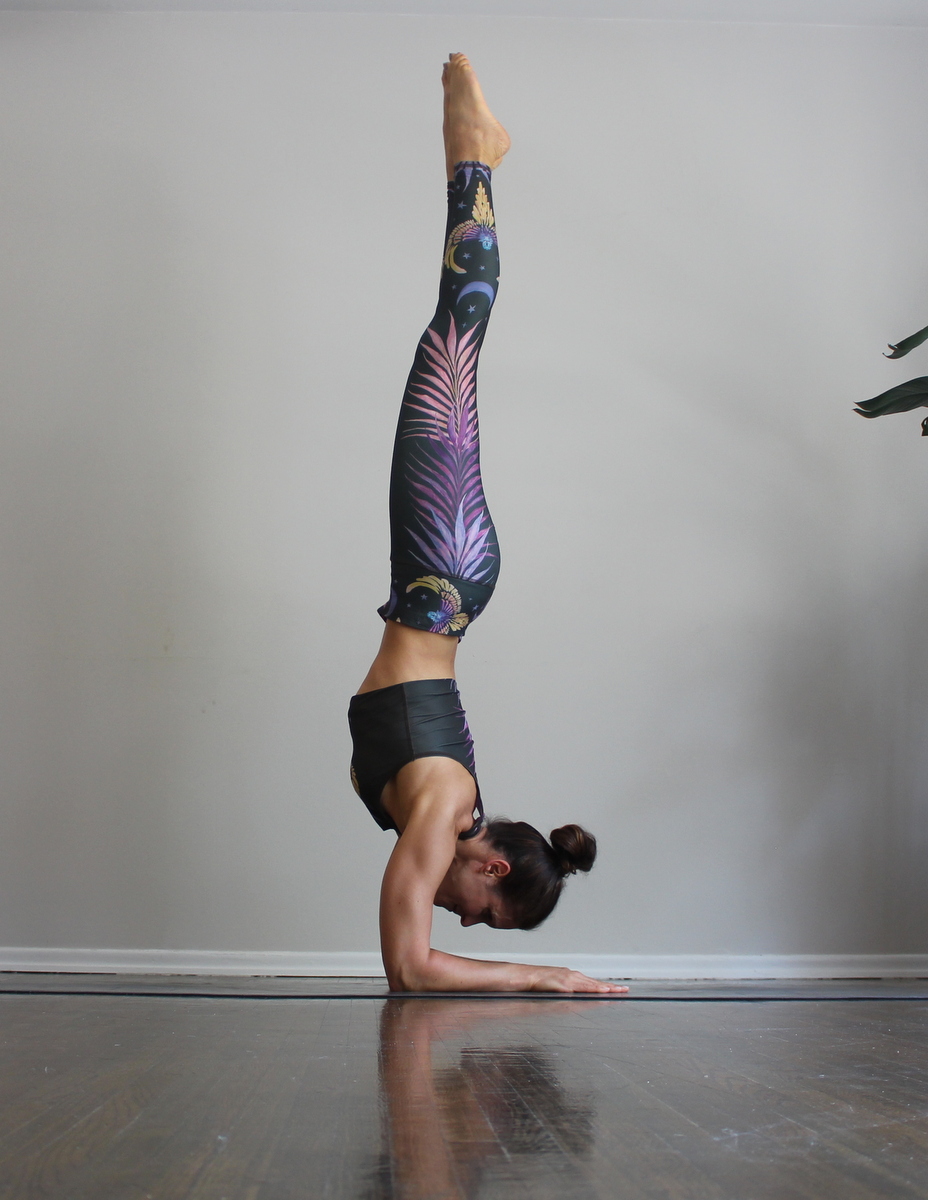
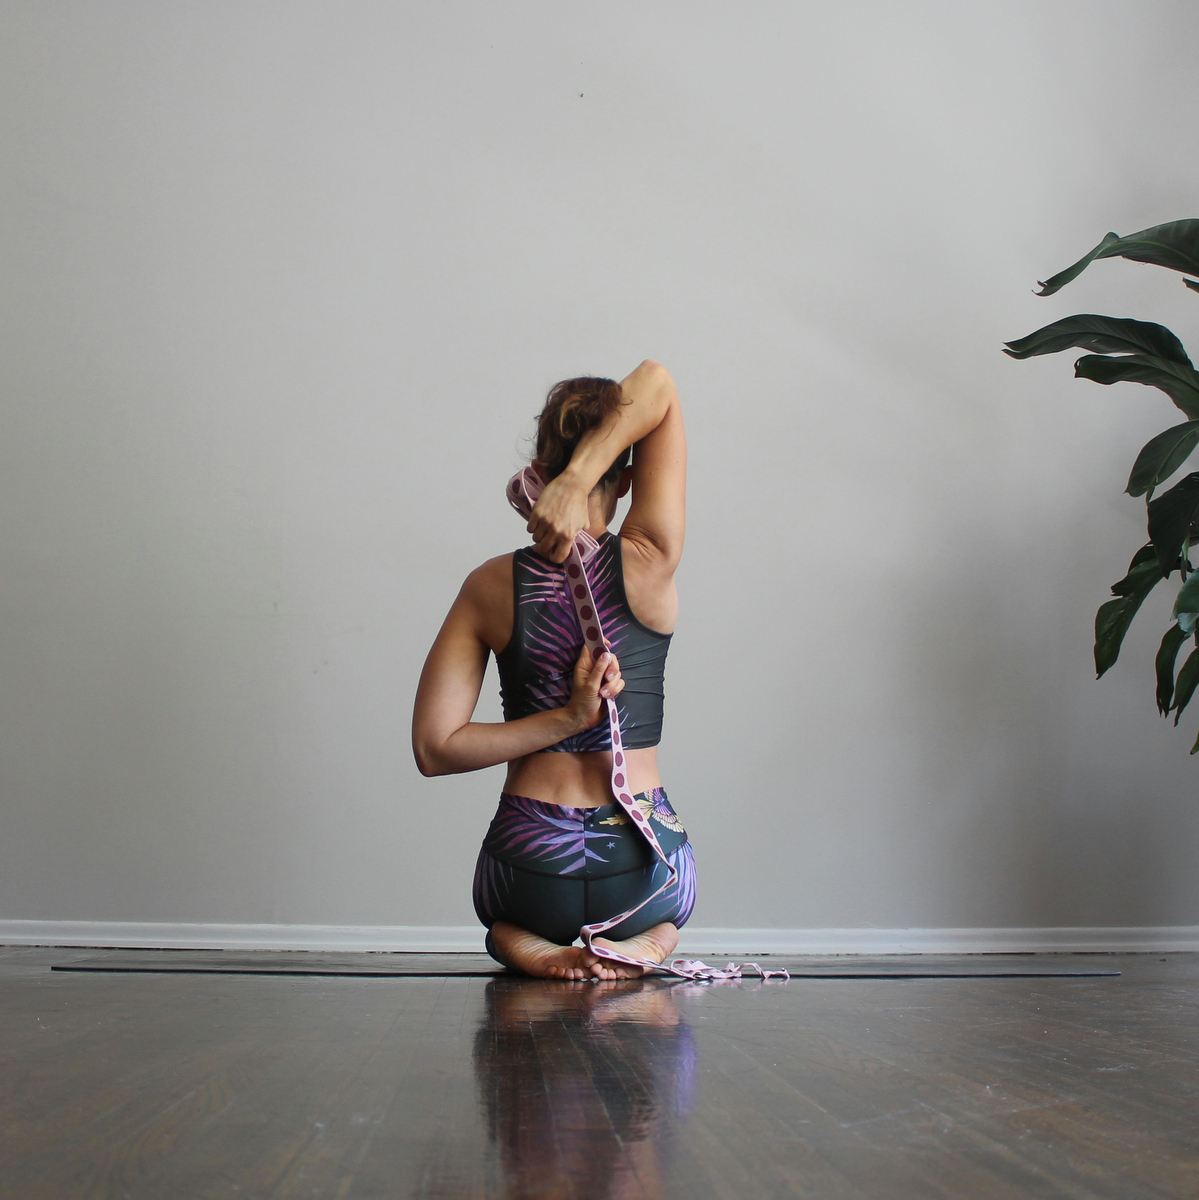
Practicing on my Manduka Yoga Mat, certified STANDARD 100 by OEKO-TEX®